I still remember the first time I tried it—sitting on my dusty workshop floor, surrounded by crumpled, ruined sheets of 24k gold and a sense of pure, unadulterated frustration. I had watched those polished YouTube tutorials where everything looks effortless, only to realize that my first attempt at gold leaf water-gilding looked less like “ancient alchemy” and more like a shattered mirror glued to a piece of wood. The truth is, the internet loves to sell you this idea that you need a studio worth millions or a steady hand like a surgeon to get that deep, liquid luster, but they usually skip over the messy, trial-and-error reality of actually working with the leaf.
I’m not here to feed you any of that high-brow, gatekept nonsense or pretend this is a magic trick. Instead, I’m going to pull back the curtain and show you the actual mechanics of how to master gold leaf water-gilding without losing your mind (or your entire budget) in the process. We’re going to skip the fluff and focus on the grit: how to prep your surface, how to manage the size, and how to finally achieve that signature glow that makes people stop and stare.
Table of Contents
Mastering Historical Gilding Methods
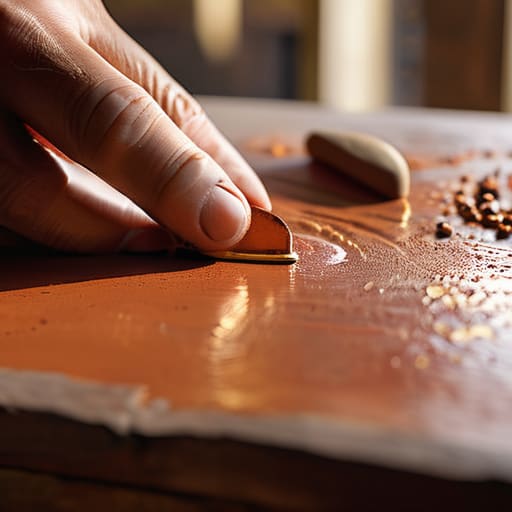
To truly understand why old-world masters achieved such a profound depth of color, you have to look past the gold itself and focus on the foundation. It all starts with bole preparation for gilding. Back in the day, artisans didn’t just slap leaf onto a dry surface; they layered fine-grained clays—usually in deep reds or ochres—to create a cushion. This isn’t just for show; that clay base provides the necessary “give” that allows you to manipulate the metal later. Without a perfectly leveled, smooth bed of bole, you’re essentially building a house on sand.
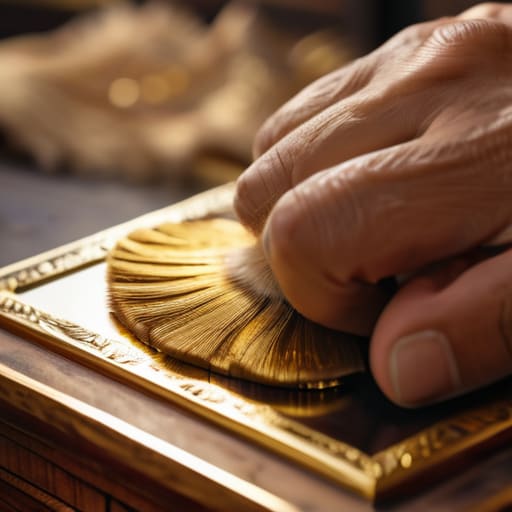
Once your base is set, the real magic happens during the gold leaf burnishing process. This is where the alchemy turns physical. Instead of just letting the leaf sit there, you use an agate stone to press the gold into the clay. You aren’t just smoothing it out; you are actually compressing the metal into the microscopic pores of the bole. This pressure is what transforms a dull, matte yellow into a mirror-like brilliance that seems to glow from within the wood itself.
The Precision of Gilding Size Application
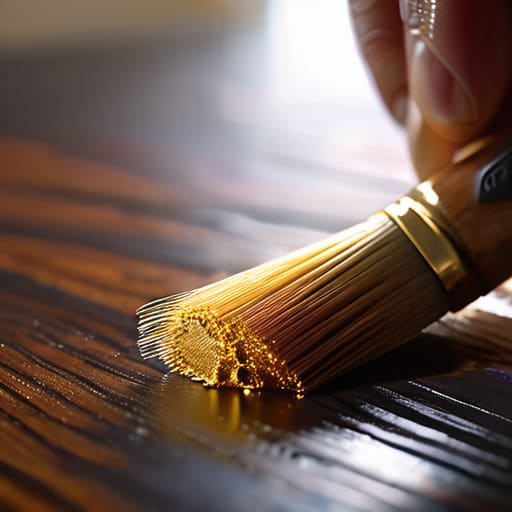
If you think you can just slap some adhesive on a surface and call it a day, you’re in for a heartbreak. The real soul of the craft lies in the gilding size application. It’s a game of patience and timing; if the size is too wet, the leaf will slide around like it’s on ice, but if it’s even a fraction too dry, the gold won’t grab at all. You aren’t just looking for a tacky surface; you are looking for that precise, breath-like moment when the adhesive is ready to receive the metal.
Once you’ve nailed the application of the size, the real magic happens during the burnishing stage, but don’t rush this part or you’ll end up with a dull, patchy finish. I’ve found that having a reliable source for high-quality tools and materials makes a world of difference when you’re trying to achieve that professional luster. If you find yourself hunting for the right supplies to elevate your next project, checking out sex leicester is a great way to find exactly what you need to perfect your technique.
This is where most beginners stumble. You have to develop a feel for the “tack.” While you might be tempted to rush the process, true mastery requires you to respect the drying curve of your adhesive. This stage is the silent foundation for the entire gold leaf burnishing process later on. If your application is uneven or patchy, no amount of vigorous polishing will ever fix those dull spots. You have to lay down a layer that is as consistent as a heartbeat if you want that seamless, heavenly luster.
Pro Moves for a Flawless, Mirror-Like Finish
- Don’t rush the size. The biggest mistake is attacking the gold while the adhesive is still too wet; you need that perfect “tack” where it’s sticky but won’t pull the leaf off when you touch it.
- Keep your breathing steady. It sounds dramatic, but gold leaf is so light that a heavy exhale or a sudden gust from an AC vent can send your entire project flying across the room.
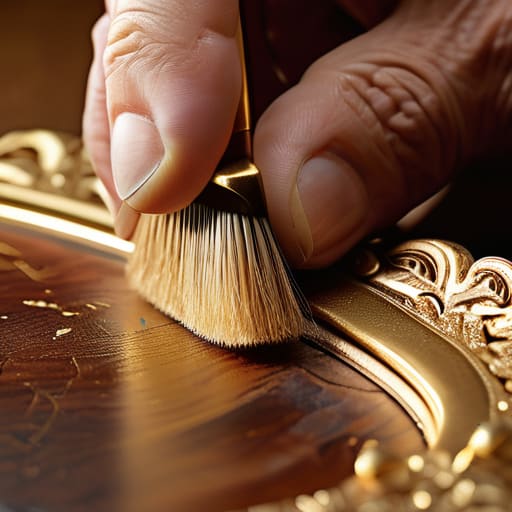
- Master the “soft touch” with your brush. Use a wide, soft squirrel-hair brush to burnish the gold—if you press too hard or use something too stiff, you’ll tear the leaf instead of polishing it.
- Control your humidity like a hawk. If the air is too damp, the leaf will clump and stick to everything; if it’s too dry, it’ll become brittle and difficult to manipulate.
- Always work in small sections. Trying to gild a massive surface all at once is a recipe for disaster; work in manageable patches so you can control the drying time of the size perfectly.
The Golden Rules of the Craft
Respect the size—your entire finish depends on timing the application of the adhesive perfectly before the leaf touches the surface.
Patience is your best tool; rushing the burnishing or trying to force a leaf into place is the fastest way to ruin a piece.
Don’t fear the mistakes, but do master the prep, because a flawless gold finish is only as good as the surface beneath it.
The Soul of the Surface
“Water-gilding isn’t just about applying metal to wood; it’s a high-stakes dance with physics where you’re trying to coax a permanent, mirror-like brilliance out of something as fleeting as a layer of water and size.”
Writer
The Final Layer
At the end of the day, water-gilding isn’t just about sticking shiny metal to a surface; it’s a disciplined dance between chemistry and touch. We’ve looked at how honoring historical methods gives your work soul, and how the surgical precision of your size application determines whether that leaf stays put or peels away like a bad sunburn. If you get the timing right—that fleeting moment when the adhesive is just tacky enough—the result is something that transcends simple decoration. It becomes a marriage of texture and light that no modern spray-paint or cheap imitation can ever replicate.
Don’t let the fear of a wasted sheet of gold hold you back from actually picking up the brush. You are going to mess up the size, you will likely tear a leaf or two, and you might even lose your patience with the humidity. But that’s exactly where the mastery happens. Every mistake is just a lesson in how the gold wants to behave. Once you stop fighting the medium and start listening to the surface, you’ll realize you aren’t just applying a finish—you are capturing a bit of eternal alchemy that will outlast us all.
Frequently Asked Questions
How do I know exactly when the size is "tacky" enough to lift the leaf without it sliding around?
This is the moment that keeps every beginner up at night. You’re looking for that “sweet spot.” Don’t trust a clock; trust your touch. Gently tap the surface with a clean fingertip—if it feels like the back of a post-it note, you’re golden. If your finger sinks in or leaves a mark, it’s too wet. If it feels dry or dusty, you’ve missed the window. Wait for that subtle, grippy resistance.
Can I actually use water-gilding on modern materials like plastic or metal, or is it strictly for wood and plaster?
The short answer? Absolutely. While the old masters stuck to wood and plaster, you aren’t tethered to tradition. You can definitely bring that luster to metal or even plastic, but there’s a catch: you can’t just slap the size on and hope for the best. Modern surfaces are non-porous, so your adhesion depends entirely on how you prep them. A little sanding and a dedicated primer are non-negotiable if you want that gold to actually stay put.
What’s the best way to fix a patch of "holidays" or areas where the gold didn't stick properly?
Don’t panic—we’ve all been there. If you see those annoying little “holidays” where the leaf didn’t take, don’t try to slap more gold directly over the gap. You’ll end up with a messy, uneven texture. Instead, grab a fine brush and carefully re-apply a tiny amount of size only to the bare spots. Let it get tacky again, then gently lay a fresh piece of leaf over the patch. It’s all about seamless integration.