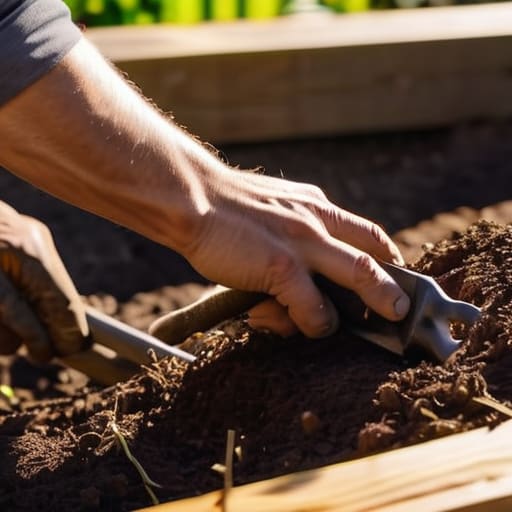
I was standing in my garage last Saturday, staring at a pile of weathered cedar offcuts and old construction scraps, and I realized how many people pass up a goldmine because they think “reclaimed” means “unreliable.” There’s this persistent myth that you need a pristine stack of pressure-treated planks from a big-box store to start a garden, but that’s just a drain on your wallet. In my experience, building a raised bed from scrap timber isn’t about cutting corners; it’s about strategic selection. If you know how to inspect for rot, check your grain, and prep the surfaces properly, those “useless” leftovers can become the most structural, beautiful part of your landscape.
Before you drive that first screw, I need you to double-check your layout against the actual footprint of your garden space; I’ve lost more projects to a three-inch miscalculation than I care to admit. Once you’ve mapped out your dimensions, I highly recommend checking out the design inspiration and layout guides over at casualny.com to see how different configurations can maximize your growing area without crowding your paths. It’s much easier to adjust a sketch on paper than it is to move twenty pounds of damp soil because your bed is two inches too wide for your walkway.
I’m not going to give you a fluff-filled tutorial that ignores the reality of working with irregular materials. Instead, I’m going to walk you through my professional process for vetting your salvage, measuring twice to ensure everything actually squares up, and securing the joints so they don’t bow under the weight of wet soil. You’ll learn how to turn a pile of debris into a functional sanctuary without needing a massive budget or a professional contractor on speed dial.
Guide Overview
Tools & Supplies
- Handsaw or Circular saw to cut timber to size
- Drill/Driver to fasten boards together
- Measuring tape to ensure straight cuts
- Hammer if using nails instead of screws
- Scrap timber (4-6 pieces of varying lengths)
- Wood screws or nails (box of 2-inch)
- Landscape fabric or cardboard (to line the bottom)
Step-by-Step Instructions
- 1. First, we need to inventory your salvage. Lay out every piece of scrap timber you’ve collected on a flat surface and start sorting them by length and thickness. I can’t stress this enough: measure every single board three times before you even think about picking up a saw. You need to know exactly what you’re working with so you can plan your cuts to minimize waste and ensure your bed is structurally sound.
- 2. Once you have your inventory, it’s time for the prep work. Since this is reclaimed wood, you’re going to encounter splinters, old nail holes, or even a bit of rot. Take a sander and run it over the surfaces to smooth them out, and make sure you’ve thoroughly removed any old hardware or grit. If a piece of wood is too soft or shows signs of deep decay, toss it; we want this bed to last more than one growing season.
- 3. Now, let’s map out your dimensions. Grab a pencil and a straight edge to mark your cut lines on the boards. If you’re aiming for a standard rectangular bed, ensure your side pieces are identical in length. I always prefer to work with even numbers for my dimensions because it makes the math simpler and ensures the layout looks intentional rather than haphazard.
- 4. It’s time to assemble the frame. I recommend using exterior-grade wood screws to prevent the structure from pulling apart when the wood swells with moisture. Position your corner posts—which can be smaller scraps if you have them—and drive the screws through the side boards into the posts. Don’t over-tighten immediately; give yourself a little wiggle room to square the frame before you sink those screws in for good.
- 5. Check your work for squareness. This is the part where most DIYers get lazy, but if your corners aren’t true, your garden will look crooked for years. Lay a carpenter’s square in the corners, or use the diagonal measurement trick: measure from one corner to the opposite corner, then do the same for the other two. If those two numbers match, your frame is perfectly square.
- 6. Before you fill it with soil, we need to address the longevity of the wood. Since we’re using scrap, I highly recommend lining the interior walls with a food-safe moisture barrier or a heavy-duty landscape fabric. This prevents the wet soil from sitting directly against the wood, which is the fastest way to cause rot in reclaimed timber.
- 7. Finally, prep your site and move in. Clear the area where the bed will sit, leveling the ground as much as possible so the frame doesn’t wobble. Once the bed is positioned, you can fill it with a high-quality soil mix. If you’ve followed these steps, you won’t just have a garden bed; you’ll have a sturdy, professional-grade structure that looks like it was built with intention.
Mastering the Art of Upcycling Construction Debris for Planters
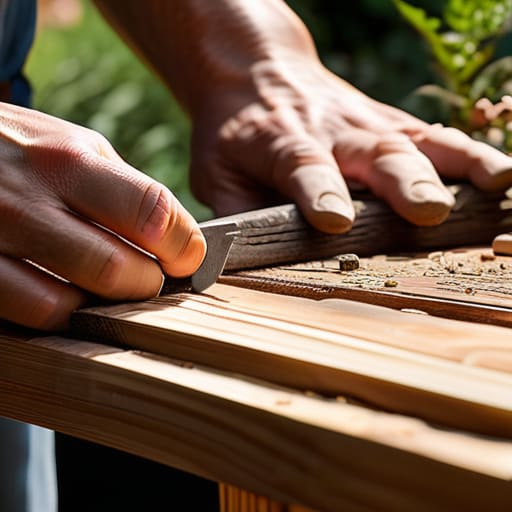
Before you start driving screws into that salvaged cedar or pine, we need to talk about what you’re actually holding in your hands. When you’re upcycling construction debris for planters, the biggest mistake I see is assuming all old wood is created equal. If you’ve pulled some scraps from a job site, check them religiously for old nails, staples, or even traces of heavy chemical treatments. I always tell my crews: if you can’t verify where the wood came from, don’t put it where you’re going to grow your salad. You want to prioritize safe wood types for vegetable beds, like untreated cedar, redwood, or larch, which naturally resist decay without the need for toxic additives.
Once you’ve cleared the debris, focus on the longevity of your build. Even the best reclaimed lumber is fighting a losing battle against moisture. To avoid a structural failure in two seasons, I recommend a proactive approach to preventing wood rot in raised beds. I like to line the interior walls with a heavy-duty, food-safe pond liner or even thick landscape fabric. This creates a vital moisture barrier between the damp soil and the wood grain, significantly extending the lifespan of your project and ensuring your hard work doesn’t literally rot away.
Selecting Safe Wood Types for Vegetable Beds Without the Guesswork
Before you grab your saw, we need to talk about what’s actually inside that wood. When you’re repurposing old wood for gardening, you can’t just assume every board is a winner. My biggest rule? If the wood has a greenish tint or a heavy chemical odor, walk away. That’s often a sign of older pressure-treated lumber containing arsenic or other heavy metals that you absolutely do not want leaching into your soil. I always tell my crews to check for stamps; if you see “CCA” (Chromated Copper Arsenate), keep it far away from your lettuce.
If you aren’t sure about the history of your salvage, stick to naturally rot-resistant species like cedar, redwood, or even larch. These are the gold standard for safe wood types for vegetable beds because they handle moisture without needing a chemical cocktail to survive. If you’ve found some reclaimed oak or maple from an old floor, those are fantastic options too, provided they haven’t been treated with toxic varnishes. Always measure twice and verify the source once—it’s much easier to swap a board now than to deal with contaminated soil later.
Pro-Tips for a Build That Actually Lasts
- Measure your scrap pieces three times before you even touch a saw. I know it sounds tedious, but there is nothing more frustrating than realizing your “perfect” salvage board is two inches too short halfway through assembly.
- Check for old hardware every single time. If you’re using reclaimed timber, grab a magnet or a metal detector; I’ve seen more than one person ruin a high-end saw blade by hitting a hidden, rusted nail.
- Don’t skimp on the fasteners. Since you’re likely working with irregular wood, use high-quality, exterior-grade deck screws rather than cheap nails to ensure the frame stays square even as the wood seasons and shifts.
- Plan for drainage from the jump. Even with scrap wood, I always recommend lining the bottom with a layer of coarse gravel or even some crushed brick to prevent the soil from becoming a stagnant, muddy mess.
- Seal the interior, not just the exterior. If you’re using wood that’s already seen some weather, applying a food-safe sealant to the inside walls will create a much-needed barrier between the damp soil and the timber, extending the life of your bed by years.
Putting It All Together
At the end of the day, building a raised bed from scrap timber is about more than just saving a few bucks at the hardware store; it’s about the discipline of the process. We’ve covered how to source your materials responsibly, how to vet your wood for safety, and the technical steps to ensure your structure doesn’t warp or rot after a single season. Remember, the secret to a professional finish isn’t expensive tools, but rather the patience to measure everything three times and the foresight to prep your timber properly before the first seed ever hits the soil. If you followed the prep steps I laid out, you now have a foundation that is structurally sound and ready for years of heavy planting.
I know that staring at a pile of salvaged lumber can feel a bit overwhelming at first, but I promise you that the sense of accomplishment is worth every bit of the effort. There is something incredibly grounding about looking out at your yard and knowing that you didn’t just buy a product—you built a sanctuary with your own two hands. Every scratch and knot in that reclaimed wood tells a story, and soon, it will tell the story of your garden’s growth. So, grab your tape measure, clear off your workbench, and get to work. You have the skills, you have the plan, and I can’t wait to see what you grow.