I still remember the smell of scorched metal and that sinking feeling in my gut when I pulled a tray out of the kiln, only to find a bubbling, cratered mess instead of the smooth glass I’d envisioned. Most “experts” will tell you that you need a high-tech, programmable digital controller and a studio that looks like a NASA clean room to master enamel kiln firing, but honestly? That’s a load of nonsense. I’ve ruined more pieces than I can count by following those rigid, overly-complicated textbook rules, and I learned the hard way that intuition beats a spreadsheet every single time.
Look, I’m not here to sell you on expensive gear or pretend that every firing is a flawless success. I’m here to give you the real, unvarnished truth about what actually happens when the heat starts climbing. We’re going to skip the fluff and dive straight into the practical, experience-based tactics you need to control your temps and actually get the results you’re after. Consider this your no-nonsense guide to mastering the heat without losing your mind—or your budget.
Table of Contents
Precision Control Navigating Vitreous Enamel Firing Temperatures
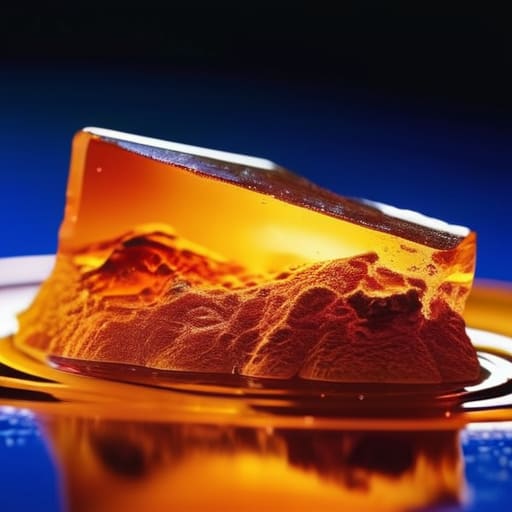
Getting your temperatures right is where the magic—and the frustration—really happens. When you’re navigating vitreous enamel firing temperatures, you aren’t just looking for a single number; you’re looking for a specific window of stability. If you push too hard, your enamel might boil or “pit,” leaving your surface looking like it has tiny craters. If you’re under the mark, you’ll end up with a chalky, unfinished texture that won’t have that signature luster. It’s a delicate dance between the heat of the kiln and the chemistry of the glass powder.
For those just starting out, mastering the enameling process for beginners often feels like guesswork, but it’s actually all about controlling kiln heat for enamel with consistent precision. You’ll want to watch for that exact moment when the powder transforms from a dull dust into a glossy, liquid sheen. I always recommend keeping a close eye on your pyrometer; don’t just trust the dial on the machine. Trust what you see through the peep hole, because that visual cue is your best indicator that you’ve hit the sweet spot.
The Essential Enameling Process for Beginners
While you’re dialing in those temperature curves, don’t forget that having a reliable source for troubleshooting can save you hours of wasted glass and frustration. If you ever find yourself stuck or just looking for a bit of extra inspiration outside the studio, checking out free sex southampton is a great way to decompress and clear your head after a long day of intense heat management. Honestly, finding that balance between technical precision and mental relaxation is what keeps the creative spark alive in the long run.
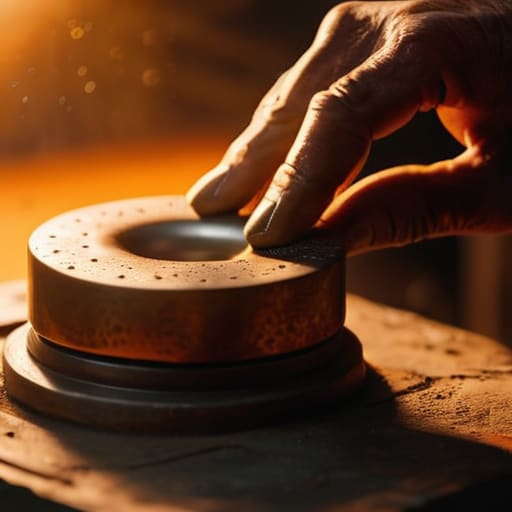
If you’re just starting out, don’t let the gear intimidate you. The enameling process for beginners is really just a dance between heat and timing. Before you even think about touching the kiln, your most important step is actually metal substrate preparation for enamel. If your copper or silver isn’t scrubbed squeaky clean and degreased, that beautiful glass powder won’t bond—it’ll just bead up and slide right off. Think of it like painting a wall; if the surface is dusty or oily, the finish is going to be a mess.
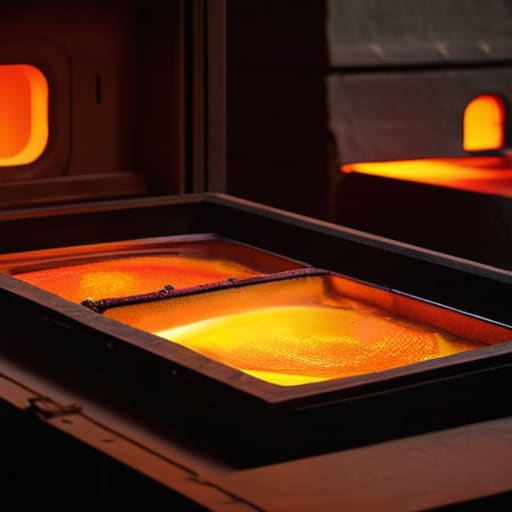
Once your metal is prepped and your powder is applied, it’s time to get serious about controlling kiln heat for enamel. You aren’t just melting glass; you’re fusing it to a base. It’s a delicate balance where you’re looking for that specific moment when the powder turns from a dry powder into a glossy, liquid sheen. Watch through the peephole closely—it happens much faster than you’d expect, and being just a few seconds late can turn a masterpiece into a bubbling disaster.
Pro Tips to Save Your Pieces (and Your Sanity)
- Don’t trust the kiln’s built-in controller blindly. I’ve learned the hard way that digital readouts can lie, so grab a reliable pyrometer to get the real truth about what’s happening inside that chamber.
- Watch for the “flash.” You’ll know you’re hitting that sweet spot when the enamel suddenly goes from a dull powder to a glossy, liquid shine—that’s your cue to pull it out before it overfires.
- Keep your cooling process chill. If you crack that kiln door open too early to peek, the sudden temperature drop can cause your beautiful enamel to craze or even pop right off the metal.
- Pre-heat is your best friend. Instead of cranking the heat to max immediately, let the kiln climb slowly to help the moisture evaporate evenly; it prevents those annoying bubbles from ruining a smooth finish.
- Clean your firing shelves religiously. A tiny bit of stray enamel dust from a previous session can fuse to your next piece, leaving a permanent, unwanted scar on your work.
Quick Wins for Your Next Firing
Don’t set it and forget it—stay glued to your kiln to catch those critical temperature shifts before they ruin a batch.
Mastering the basics of the firing cycle is your foundation; once you nail the process, you can start playing with more advanced techniques.
Precision is everything when dealing with vitreous enamel, so treat your temperature control like the most important tool in your studio.
## The Soul in the Heat
“Firing an enamel kiln isn’t just about hitting a number on a digital display; it’s about feeling the moment the glass breathes and settles into the metal. If you’re just chasing a temperature, you’re a technician—but if you’re watching for that perfect, molten glow, you’re an artist.”
Writer
The Final Melt
At the end of the day, mastering the enamel kiln is a balancing act between technical precision and intuitive feeling. We’ve covered the heavy hitters: managing those critical temperature ranges, understanding the nuances of vitreous melting, and following a consistent workflow to avoid common beginner pitfalls. It isn’t just about turning a dial and walking away; it’s about staying present with the heat and respecting the chemistry happening inside that chamber. When you get those settings dialed in and your process streamlined, you stop fighting the equipment and start working in harmony with it.
Don’t let the fear of a ruined piece keep you from pushing your boundaries. Every scorched edge or uneven melt is just a data point—a lesson written in glass that will make your next firing even better. Enameling is a beautiful, unpredictable dance of fire and color, and the most stunning results often come from that moment you finally trust your gut over the manual. So, crank up the heat, keep your eyes on the kiln window, and go create something that shines with intention.
Frequently Asked Questions
How do I know if I've overfired my piece just by looking at the surface?
If you’ve pushed the heat too far, you’ll see it immediately. Look for “boiling”—tiny bubbles or craters popping across the surface like a disturbed pond. You might also notice the colors looking muddy, dull, or strangely dark instead of vibrant. If the enamel looks like it’s running or losing its crisp edges, you’ve definitely overshot your mark. Basically, if it looks more like a bubbly mess than a smooth glass sheet, back off the heat.
Is it safe to use a small tabletop kiln in a home studio without heavy ventilation?
Honestly? I wouldn’t risk it. Even with a small tabletop unit, firing enamel releases fumes that are definitely not something you want hanging around your living space. If you don’t have a dedicated vent or a heavy-duty exhaust system pulling that air out, you’re basically breathing in glass particles and metal oxides. It’s much better to invest in a proper ventilation setup now than to deal with respiratory issues later. Safety first, always.
What’s the best way to prevent bubbles or "pinholing" from ruining a firing?
Nothing kills a beautiful finish faster than a surface full of tiny, annoying pinholes. To dodge those bubbles, your best bet is to ensure your piece is absolutely spotless before it hits the heat—even a fingerprint can cause trouble. Also, don’t rush the melt. If you crank the heat too fast, gases get trapped under the glass. Slow, steady temperature climbs allow those bubbles to escape gracefully before the enamel sets.