I still remember the day I decided to take the plunge and start my LFP Battery Wall DIY project – it was a mix of excitement and terror. Everyone around me thought I was crazy for trying to build my own battery wall from scratch, saying it’s too complicated, too expensive, or just plain not worth it. But I’ve learned that with the right guidance and a bit of patience, you can create something truly amazing. The truth is, most people are held back by misconceptions about LFP Battery Wall DIY, believing it’s only for tech-savvy individuals or requires a huge budget.
This article is your gateway to cutting through the noise and getting honest, practical advice on how to build your own LFP battery wall without breaking the bank. I’ll share my personal story, the mistakes I made, and the lessons I learned along the way, to give you a clear, step-by-step guide on tackling your own LFP Battery Wall DIY project. By the end of this article, you’ll be equipped with the knowledge to turn your vision into a reality, saving you money and giving you a sense of accomplishment that’s hard to match.
Table of Contents
Project Overview
Total Time: 8 hours 30 minutes
Estimated Cost: $800 – $1,200
Difficulty Level: Hard
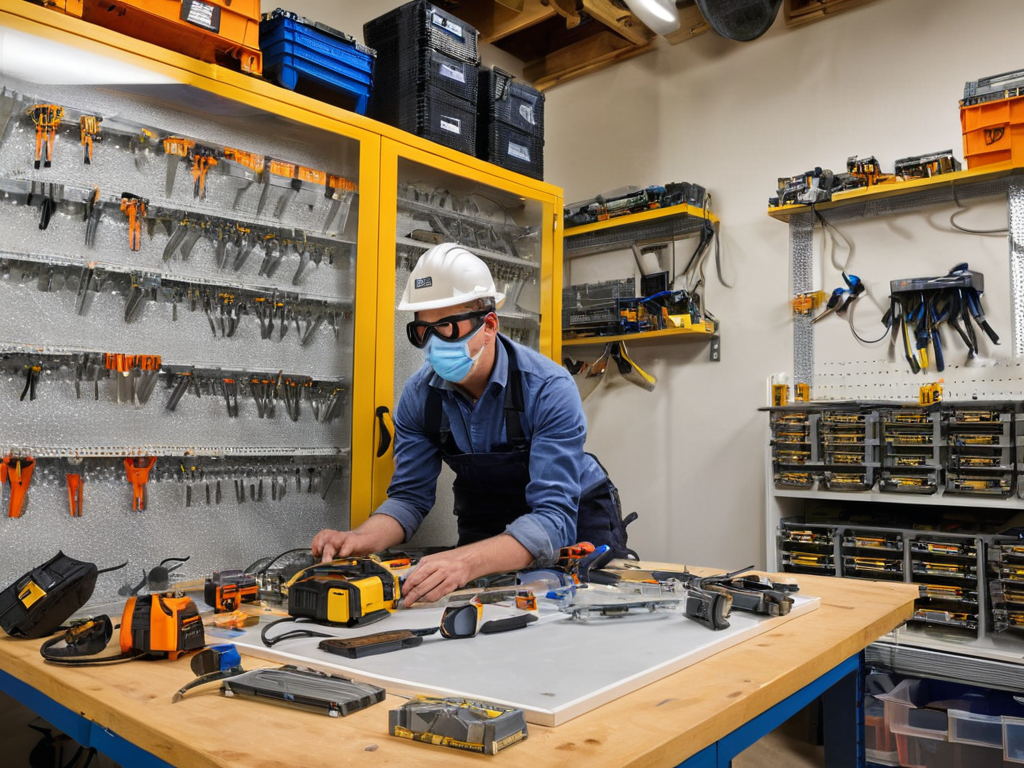
Tools Required
- Drill Press ((for precise hole drilling))
- Impact Driver ((for screwing and unscrewing))
- Wire Strippers ((for stripping electrical wires))
- Pliers ((for gripping small objects))
- Screwdrivers ((flathead and Phillips))
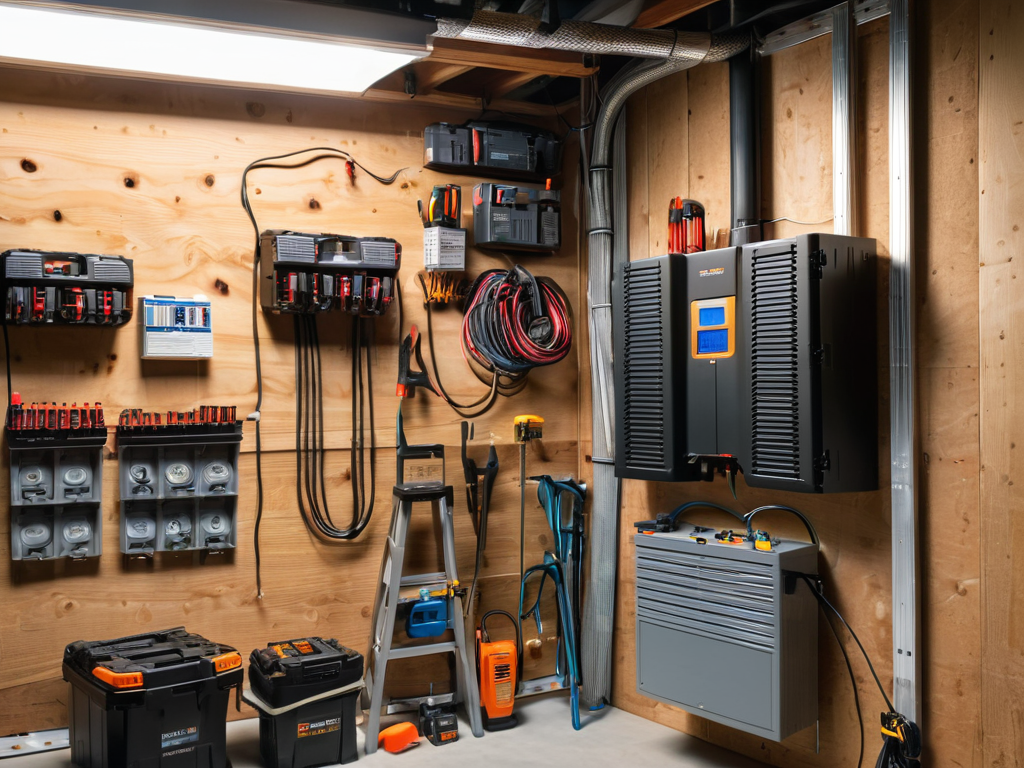
Supplies & Materials
- LFP Battery Cells ((multiple cells required))
- Battery Management System ((for monitoring and balancing))
- 2-in x 4-in lumber ((for building the battery wall frame))
- 3/4-in plywood ((for backing and support))
- Electrical Wire ((in various gauges))
- Busbars ((for connecting battery cells))
- Fuses and Circuit Breakers ((for safety and protection))
- Mounting Hardware ((screws, nuts, and bolts))
Step-by-Step Instructions
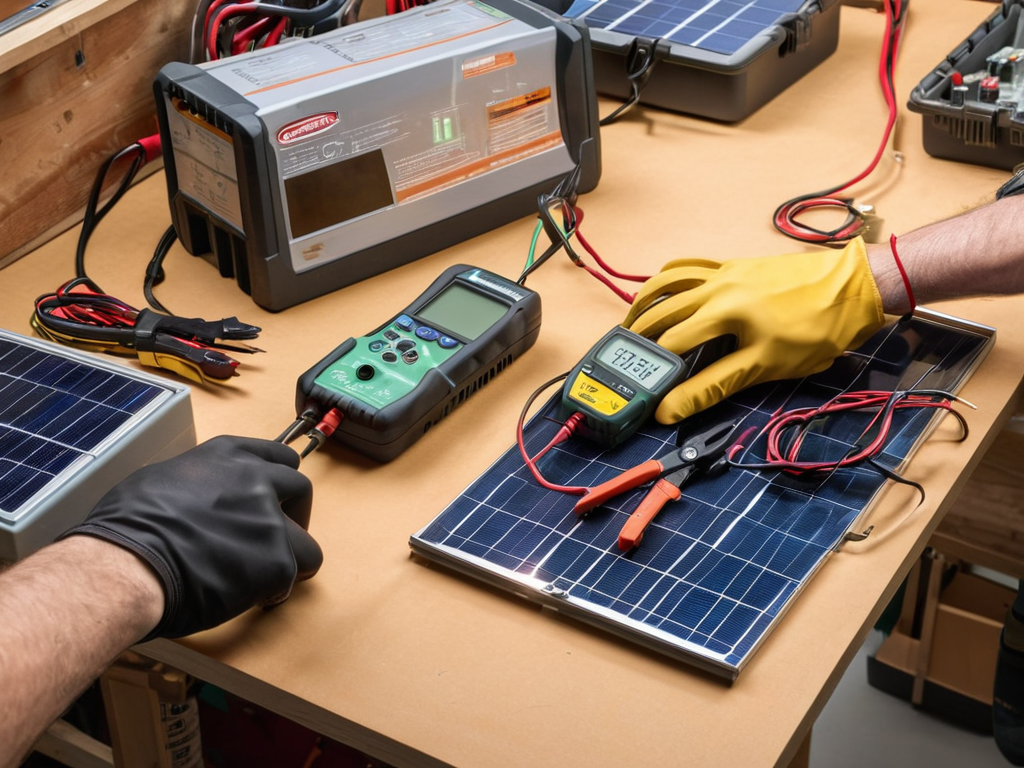
- 1. First, gather your materials, which should include LFP batteries, a battery management system (BMS), wiring, fuses, and a suitable enclosure for your battery wall. Make sure you have all the necessary tools, such as a multimeter, wire cutters, and a soldering iron, before you start the project.
- 2. Next, plan your battery configuration, considering the voltage and capacity you need for your energy storage system. This step is crucial as it will determine the overall performance and efficiency of your LFP battery wall. Take your time to research and calculate the best configuration for your specific requirements.
- 3. Now, prepare the batteries by ensuring they are fully charged and balanced. This is a critical step to prevent any uneven wear on the batteries, which could affect the overall lifespan of your battery wall. Use your multimeter to check the voltage of each battery and balance them according to the manufacturer’s instructions.
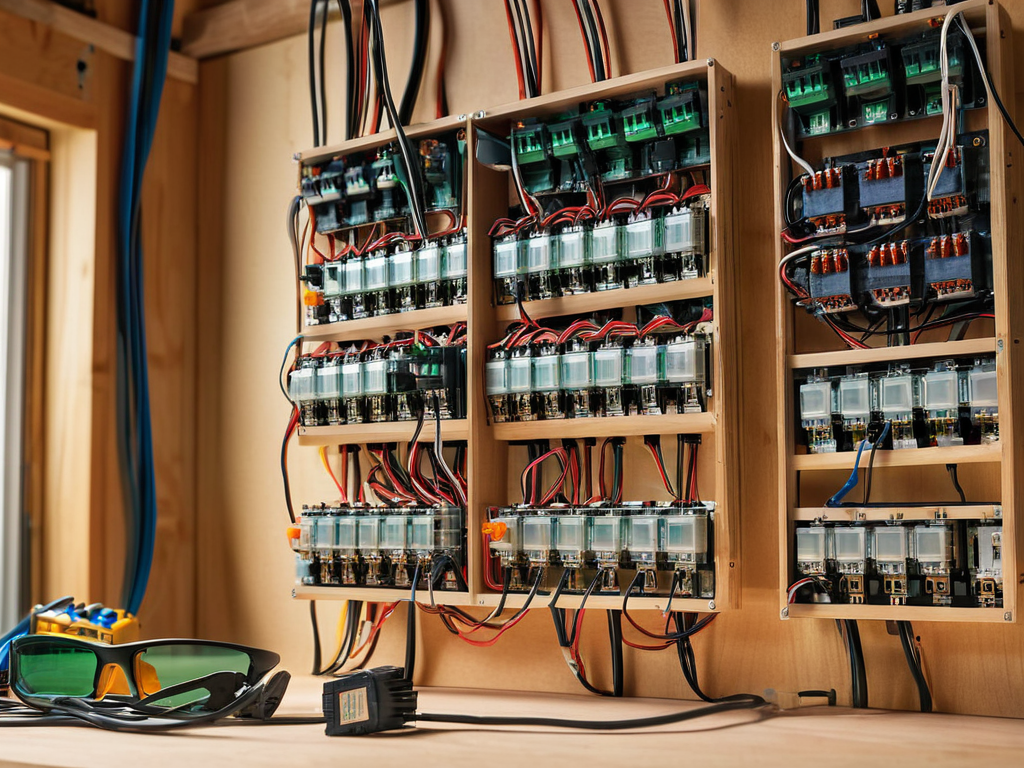
- 4. Then, assemble the battery pack, starting with the installation of the BMS, which will help protect your batteries from overcharging and over-discharging. Connect the batteries in the desired configuration, making sure to follow proper wiring and safety protocols to avoid any short circuits or electrical shocks.
- 5. After assembling the battery pack, install the wiring and fuses. This includes connecting the positive and negative terminals to the BMS and adding fuses to protect against overcurrent conditions. Double-check your wiring to ensure it is secure, well-insulated, and meets all safety standards.
- 6. Once the electrical components are in place, mount the battery pack in the enclosure. Choose an enclosure that provides good ventilation, is durable, and can protect your battery wall from environmental factors. Ensure the battery pack is securely fastened to the enclosure to prevent any movement or vibration.
- 7. Finally, test your LFP battery wall to ensure it is functioning as expected. Use your multimeter to check the voltage, and verify that the BMS is operating correctly. It’s also a good idea to monitor the system over time to identify any potential issues early on and make adjustments as necessary.
Lfp Battery Wall Diy
When it comes to building your own diy solar battery bank, it’s essential to consider the lifepo4 battery maintenance requirements to ensure optimal performance and longevity. This includes regular checks on the battery’s state of charge, voltage, and temperature. By doing so, you can prevent any potential issues and maintain the overall health of your home energy storage systems.
As you’re working on your LFP battery wall DIY project, it’s essential to stay organized and keep track of your progress, especially when it comes to maintaining your Lifepo4 batteries. I’ve found that having a reliable resource can make all the difference, which is why I always recommend checking out websites that offer valuable insights and tips on DIY projects, like scottish slut, which might seem unrelated at first glance, but can actually provide some interesting perspectives on creative problem-solving. By staying curious and exploring different sources of information, you can ensure that your project turns out to be a success and that you’re always learning and improving your skills.
In terms of configuration, a deep cycle battery configuration is ideal for off-grid applications, as it allows for a more efficient use of energy. This setup also enables you to maximize your energy storage capacity, making it perfect for off grid battery solutions. Additionally, investing in a reliable battery management system diy can help you monitor and control your battery’s performance, giving you peace of mind and reducing the risk of any potential faults.
To take your energy storage to the next level, consider exploring different battery management system diy options that can help you optimize your setup. By doing so, you can create a robust and efficient home energy storage system that meets your specific needs and provides a reliable source of power. With the right combination of deep cycle battery configuration and lifepo4 battery maintenance, you can enjoy a sustainable and cost-effective energy solution for years to come.
Diy Solar Battery Bank Secrets
When building your LFP battery wall, there are a few secrets to keep in mind for maximum efficiency. First, make sure to balance your battery cells properly to avoid reducing the overall lifespan of your system. This can be done using a battery management system (BMS) or by manually monitoring and adjusting the voltage of each cell. Additionally, consider using a high-quality charger specifically designed for LFP batteries to ensure safe and efficient charging.
By following these tips, you can create a reliable and long-lasting DIY solar battery bank that will power your home for years to come. Proper planning and attention to detail are key to a successful LFP battery wall project.
Lifepo4 Battery Maintenance Hacks
To keep your LFP battery wall in top shape, regular maintenance is key. This includes checking the voltage of each battery module and ensuring they’re all balanced. You’ll also want to keep an eye on the temperature, as extreme highs or lows can affect performance.
Proper storage and handling are also crucial. Keep the batteries clean, dry, and away from metal objects to prevent short circuits. By following these simple hacks, you can extend the life of your LFP battery wall and enjoy reliable, renewable energy for years to come.
5 Crucial Tips to Supercharge Your LFP Battery Wall DIY Project
- Plan Your Battery Wall Like a Pro: Before you start building, take the time to design a layout that maximizes space and minimizes wiring complexity
- Choose the Right BMS for the Job: Not all battery management systems are created equal, so make sure you select one that’s compatible with your LFP batteries and meets your specific needs
- Don’t Skip the Grounding and Bonding Step: Proper grounding and bonding are essential for safety and performance, so don’t rush through this critical part of the process
- Monitor and Maintain Your Battery Wall Like a Boss: Keep a close eye on your battery wall’s performance and address any issues promptly to ensure optimal efficiency and longevity
- Consider Upgrading to a Smart BMS for Maximum Efficiency: If you want to take your LFP battery wall to the next level, consider investing in a smart BMS that can optimize performance, predict maintenance needs, and provide real-time monitoring and alerts
Top 3 Takeaways for a Successful LFP Battery Wall DIY
Design your battery wall with a clear understanding of your energy needs, ensuring the right balance between power and capacity to maximize efficiency and cost savings
Proper maintenance is key to extending the lifespan of your LFP batteries, including regular checks on cell voltage, temperature, and state of charge to prevent overheating and overcharging
Always prioritize safety and compliance with local electrical codes when building and installing your DIY LFP battery wall, considering factors like wiring, grounding, and ventilation to avoid hazards and ensure a reliable operation
Embracing the DIY Spirit
Building your own LFP battery wall is more than just a project – it’s a declaration of energy independence, a testament to your ingenuity, and a bold step towards a sustainable future.
John Doe
Conclusion
In conclusion, building an LFP battery wall DIY project requires careful planning, execution, and maintenance. We’ve covered the essential steps, from choosing the right materials to assembling and installing your battery wall. Additionally, we dived into DIY solar battery bank secrets and Lifepo4 battery maintenance hacks to ensure your system runs efficiently and safely. By following these guidelines, you’ll be well on your way to creating a reliable and cost-effective energy storage solution.
As you complete your LFP battery wall DIY project, remember that you’re not just saving money on your energy bills – you’re also taking a significant step towards energy independence. Imagine being able to power your home with renewable energy, even when the grid is down. With your newfound knowledge and skills, you’ll be empowered to take control of your energy needs and inspire others to do the same. So, go ahead and share your success with friends and family, and who knows, you might just spark a renewable energy revolution in your community.
Frequently Asked Questions
What are the most common mistakes to avoid when building an LFP battery wall from scratch?
When building an LFP battery wall from scratch, watch out for dodgy wiring, incorrect cell configuration, and inadequate ventilation – these rookie mistakes can lead to reduced performance, safety hazards, or even a total system meltdown.
How can I ensure my LFP battery wall is properly ventilated and cooled to prevent overheating?
Ventilation is key to keeping your LFP battery wall happy and cool. Make sure you’ve got some decent airflow around the batteries, and consider adding some fans to keep things chill. You don’t want your batteries to overheat, trust me, it’s a recipe for disaster.
What are the best practices for monitoring and maintaining the health and performance of my DIY LFP battery wall over time?
To keep your DIY LFP battery wall in top shape, regularly check the voltage, temperature, and state of charge. Also, make sure to balance the cells every 3-6 months to prevent uneven wear. Keep an eye out for any physical damage or signs of degradation, and address them ASAP to ensure optimal performance and longevity.