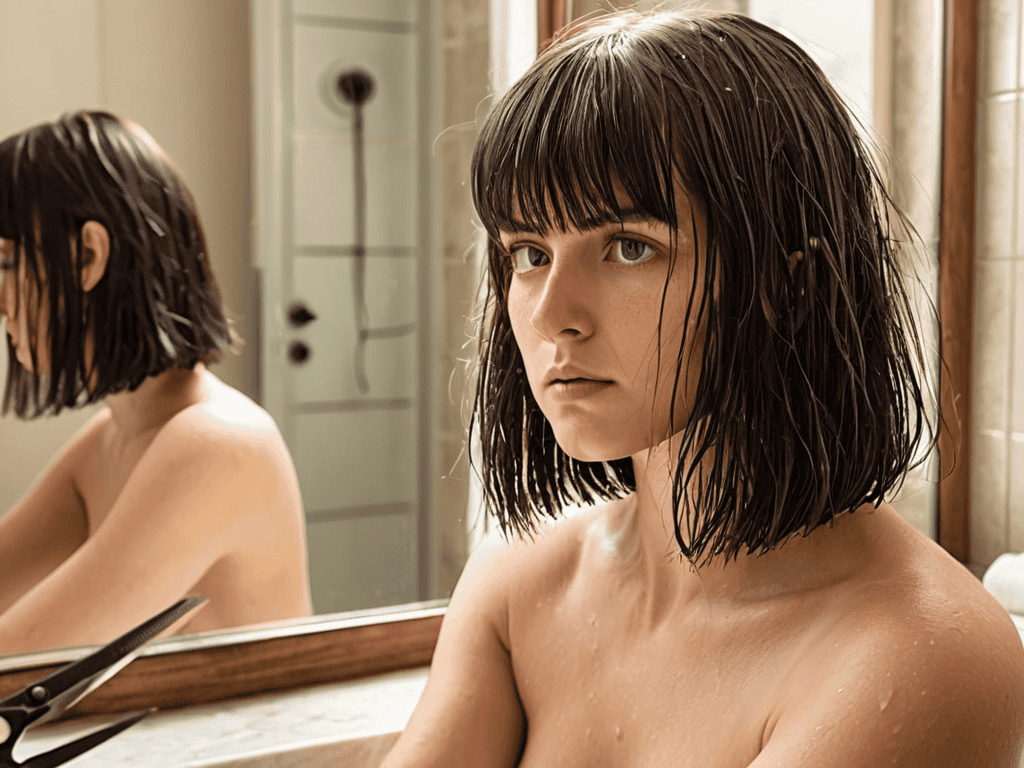
I still remember the first time I decided to take the plunge and try cutting my own bangs. It was a liberating experience, to say the least. The common myth that you need to be a professional stylist to achieve a great haircut is simply not true. With the right guidance and a bit of courage, anyone can learn to cut their own bangs and achieve a fresh, new look. I’ve seen many friends and family members struggle with the idea of taking scissors to their own hair, but trust me, it’s worth it. By learning how to cutting your own bangs, you’ll not only save money but also gain a new sense of confidence and self-expression.
In this article, I’ll share my personal tips and tricks for cutting your own bangs with ease. You’ll learn how to prepare your hair, choose the right tools, and follow a simple step-by-step process to achieve a stylish and polished look. I’ll also cover some common mistakes to avoid and provide advice on how to maintain your new bangs. My goal is to empower you with the knowledge and skills to take control of your hairstyle and make it a true reflection of your personality. So, if you’re ready to embark on this journey and discover the freedom of cutting your own bangs, let’s get started!
Table of Contents
Project Overview
Total Time: 30 minutes to 1 hour
Estimated Cost: $10 – $20
Difficulty Level: Intermediate
Tools Required
- Comb ((wide-tooth or rat-tail))
- Hair scissors ((sharp and dedicated to cutting hair))
- Mirror ((large and well-lit))
Supplies & Materials
- Hair clips ((for sectioning hair))
- Rat-tail comb ((for precise cutting))
- Neck strip or cape ((for protecting clothing from hair))
Step-by-Step Instructions
- 1. First, prep your space by gathering all the necessary tools: a comb, scissors, a mirror, and some clips to keep your hair out of the way. It’s also a good idea to have a towel or a cape to protect your clothing from any stray hair clippings. Make sure you’re in a well-lit area, preferably with natural light, to get the best view of what you’re doing.
- 2. Next, brush your hair to remove any tangles or knots, and then use your comb to section off the part of your hair that you want to cut. For a standard bang, this is usually the front section of your hair, from the crown to the hairline. Use your clips to keep the rest of your hair out of the way, so you can focus on the section you’re about to cut.
- 3. Now, decide on the length and style of your bangs. Look at pictures for inspiration, and consider your face shape and hair type. If you’re unsure, it’s always better to start with a longer length and work your way up, as it’s easier to cut more hair off than it is to glue it back on. Use your comb to measure out the length you want, and then use a rat-tail comb or a straight edge to create a straight line.
- 4. With your comb in place, carefully cut along the edge of the comb, using small, gentle snips. Don’t cut too much hair at once, as this can be hard to fix. Instead, take small sections and work your way across, using your comb as a guide. Remember to cut in small increments, checking your progress in the mirror as you go.
- 5. Once you’ve cut your bangs to the desired length, use thinning scissors or hair shears to trim any stray hairs or uneven ends. This will help create a more polished, finished look. Be careful not to cut too much, as this can make your bangs look thin or wispy.
- 6. Next, use a texturizing spray or dry shampoo to add some volume and texture to your bangs. This will help them lie flat against your forehead, and give them a more piecey, undone look. Simply spray the product onto your bangs, and then use your fingers to rough-dry them into place.
- 7. Finally, style your bangs to your liking, using a round brush and a blow dryer to create a smooth, sleek finish. You can also use a flat iron to add some extra polish, or a sea salt spray to create a more beachy, undone look. Whatever style you choose, make sure it’s one that makes you feel confident and beautiful.
Cutting Your Own Bangs

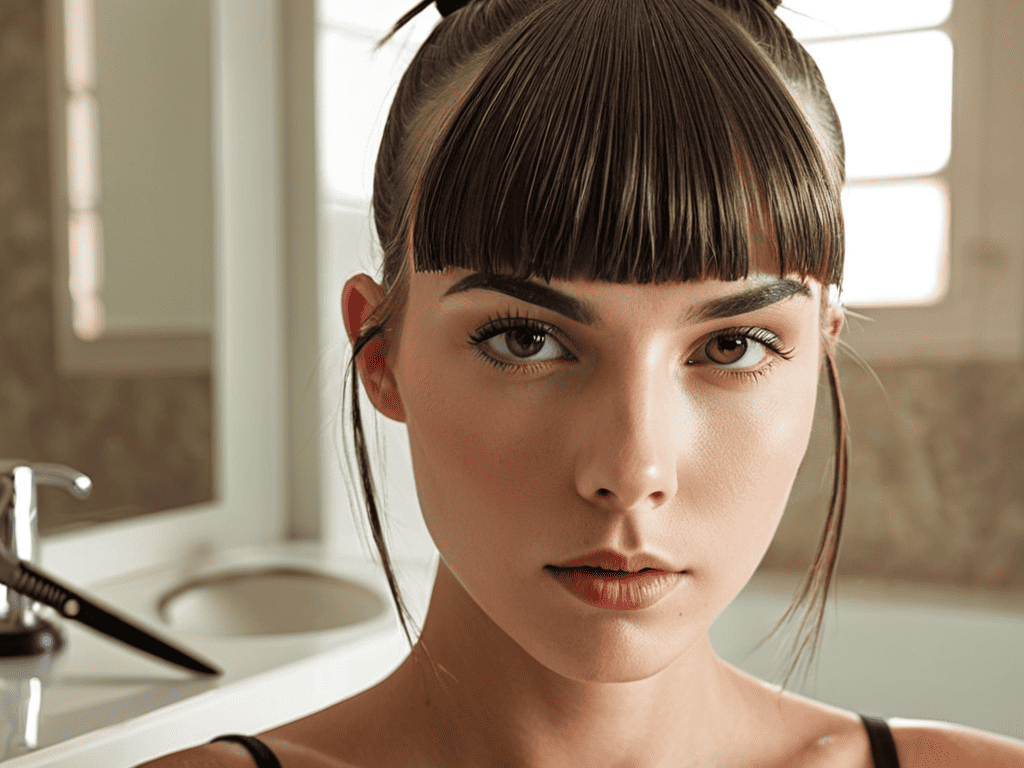
As I sit in my cozy living room, surrounded by miniature models of iconic buildings and the soft glow of table lamps, I’m reminded of the importance of framing your face with the right hairstyle. When it comes to at home bang trimming tips, it’s all about finding a style that complements your features. For instance, if you have a round face, you may want to consider bangs for round faces that are cut in a way that creates the illusion of length.
To achieve a polished look, I recommend investing in a good pair of thinning scissors, which can be used for trimming bangs with thinning scissors. This will help you maintain a healthy and even cut. When styling your bangs, consider the overall aesthetic you want to achieve – do you want a sleek and straight look, or a more effortless, piecey vibe? Curtain bangs styling ideas can be a great source of inspiration, as they often feature a relaxed, laid-back approach to bang styling.
For those looking to add some extra texture to their bangs, a layered bangs cutting technique can be a great option. This involves cutting your bangs in a way that creates a subtle, layered effect, which can add depth and visual interest to your overall hairstyle. By experimenting with different techniques and styles, you can find a look that truly reflects your personality and complements your features.
Framing Faces With at Home Trims
As I sit in my cozy home, surrounded by miniature models of iconic buildings and the soft scratch of my urban sketching pencils, I’m reminded that framing our faces is an art form. Cutting your own bangs is just the beginning – it’s about creating a look that’s uniquely yours. With every snip, you’re not just trimming hair, you’re telling a story of self-expression and confidence.
As I reflect on my own journey of self-expression through hair styling, I’ve come to realize the importance of having the right resources at your fingertips. When it comes to cutting your own bangs, it’s not just about the technique, but also about understanding how different styles can complement your features. I’ve found that exploring various online communities and forums can be incredibly helpful in discovering new ideas and inspiration. For instance, I stumbled upon a fascinating website, ficken in sachsen anhalt, which, although unrelated to hair styling, got me thinking about the power of exploration and how it can lead to unexpected discoveries. This mindset has been instrumental in my approach to hair styling, and I believe it can be a game-changer for anyone looking to try something new, including cutting their own bangs.
At home trims can be incredibly liberating, allowing you to experiment with new styles and shapes that reflect your personality. Whether you’re a fan of blunt cuts or soft, wispy layers, the key is to have fun and be gentle with yourself as you explore the world of DIY hair design.
Layered Looks via Thinning Scissors
To achieve a truly polished look, I love using thinning scissors to create layered textures. It’s amazing how a few subtle snips can add movement and depth to your style. When working with thinning scissors, remember to start with small, gentle cuts and gradually build up to your desired layering effect. This technique is especially great for those with thicker hair, as it helps reduce bulk while maintaining a healthy, vibrant appearance. By incorporating thinning scissors into your at-home trim routine, you’ll be able to craft a look that’s uniquely yours – one that’s full of life, dimension, and personality.
5 Essential Tips for a Flawless At-Home Bang Trim
- Prep your locks with a good brush or comb to detangle and add some shine, making it easier to visualize and cut your bangs
- Use a trimmer or sharp hair scissors specifically designed for cutting hair to avoid split ends and uneven cuts
- Section off your bangs from the rest of your hair using clips to maintain focus and prevent accidental cuts in other areas
- Work in small increments, taking tiny snips and checking your progress frequently in a mirror to achieve the perfect length and layering
- Consider the natural texture and growth pattern of your hair when deciding on a style, and don’t be afraid to get creative and try out new looks that reflect your personality
Embracing Your Inner Stylist: 3 Key Takeaways
By embracing the art of cutting your own bangs, you’re not just framing your face, you’re unlocking a journey of self-expression and empowerment, where every snip tells a story of your unique personality and style
Remember, it’s all about balance – finding that perfect harmony between your natural texture, face shape, and personal flair, which is why understanding your hair type and having the right tools, like thinning scissors for layered looks, is crucial for a DIY trim that looks professionally done
Ultimately, the true beauty of cutting your own bangs lies in its transformative power, allowing you to break free from salon dependencies and tap into your creative potential, where every new look is a reflection of your growth, confidence, and the ever-evolving narrative of your inner beauty
A Cut Above the Rest
Cutting your own bangs is not just a cosmetic tweak, it’s a declaration of self-expression and a bold step towards embracing your unique beauty, one snip at a time.
Charlene Jensen
Conclusion
As we conclude our journey through the world of cutting your own bangs, it’s essential to remember that practice makes perfect. We’ve covered the basics of framing your face, layering looks with thinning scissors, and even touched on the importance of having the right tools for the job. By following these steps and tips, you’ll be well on your way to achieving the perfect at-home trim. Don’t be discouraged if it takes a few attempts to get it just right – the key is to be patient and gentle when handling those delicate locks.
So, the next time you’re tempted to visit the salon for a trim, consider taking a chance on yourself. With a little creativity and confidence, you can unlock a fresh new look that truly reflects your personality. By embracing the art of cutting your own bangs, you’re not only saving time and money, but also empowering yourself to take control of your style and express your unique sense of self. Happy trimming, and don’t forget to have fun with it!
Frequently Asked Questions
What are the most common mistakes to avoid when cutting your own bangs?
Honesty time – I’ve seen friends struggle with uneven cuts, over-trimming, and not considering their face shape. To avoid these common mistakes, take a deep breath, and remember to measure twice, cut once. Use a comb for guidance, and don’t be too hard on yourself if it’s not perfect – it’s just hair, and it’ll grow back!
How do I determine the best bang style to suit my face shape and hair type?
To find your perfect bang style, consider your face shape and hair type. For round faces, angled bangs can create a slimming effect, while straight bangs suit square faces. If you have curly hair, blunt bangs can add a cute touch, and for straight hair, side-swept bangs can frame your face beautifully. Experiment with virtual try-ons or consult a stylist to discover your ideal look!
What are some essential tools and products I'll need to cut my own bangs at home?
To cut your own bangs at home, you’ll need a few essentials: sharp hair scissors or thinning shears, a comb, and a mirror. I also swear by a detangling brush and some clips to keep stray hairs out of the way. And, of course, a steady hand and a sense of adventure!