I still remember the day I decided to tackle the cluttered mess that was my entryway. I was tired of tripping over shoes and feeling like I was walking into a chaotic zone every time I came home. That’s when I embarked on a mission to learn how to build a simple entryway bench with shoe storage. I was surprised to find that it wasn’t as daunting as I thought, and the sense of accomplishment I felt when it was all done was incredible. The common myth that building something like this requires a lot of expertise or specialized tools is simply not true.
In this article, I’ll share with you the practical steps and honest advice I’ve learned along the way. You’ll discover that building a simple entryway bench with shoe storage is a project that can be completed over a weekend, with minimal financial investment. I’ll guide you through the process, from planning to execution, and provide you with the confidence to take on this project and create a beautiful, functional entryway that you’ll love coming home to. By the end of this guide, you’ll be equipped with the knowledge to create a cozy and organized space that sets the tone for the rest of your home.
Table of Contents
Guide Overview: What You'll Need
Total Time: 3 hours 45 minutes
Estimated Cost: $75 – $125
Difficulty Level: Intermediate
Tools Required
- Circular Saw (for cutting lumber)
- Drill Press (for precise drilling)
- Hand Saw (or a jigsaw for curved cuts)
- Sander (for smoothing out wood surfaces)
- Tape Measure (for accurate measurements)
- Level (for ensuring the bench is level)
- Clamp (for holding pieces together during assembly)
- Hammer (for tapping pieces into place)
- Utility Knife (with extra blades)
Supplies & Materials
- 2-in x 4-in lumber (for the frame)
- 3/4-in plywood (for the seat and shelves)
- 1-in x 4-in lumber (for the shelf supports)
- Wood Screws (2 1/2 inches long)
- Wood Glue (for bonding wood pieces)
- Sandpaper (for smoothing out surfaces)
- Paint or Stain (optional, for finishing)
- Decorative Trim (optional, for a finished look)
Step-by-Step Instructions
- 1. First, let’s start by preparing the necessary materials and tools for our project. We’ll need a few essential items like a saw, drill, and sandpaper to get the job done. Make sure you have all the required materials within arm’s reach to avoid any last-minute trips to the hardware store.
- 2. Next, we’ll begin by constructing the base of our entryway bench. This will involve cutting four pieces of wood to the same length, which will serve as the legs and frame of our bench. Remember to measure twice and cut once to ensure accuracy and avoid any costly mistakes.
- 3. Now that we have our base pieces cut, it’s time to assemble the frame of our bench. Use screws to attach the legs to the frame, making sure everything is securely in place. This will provide the foundation for our bench and help it withstand the weight of shoes, bags, and other items.
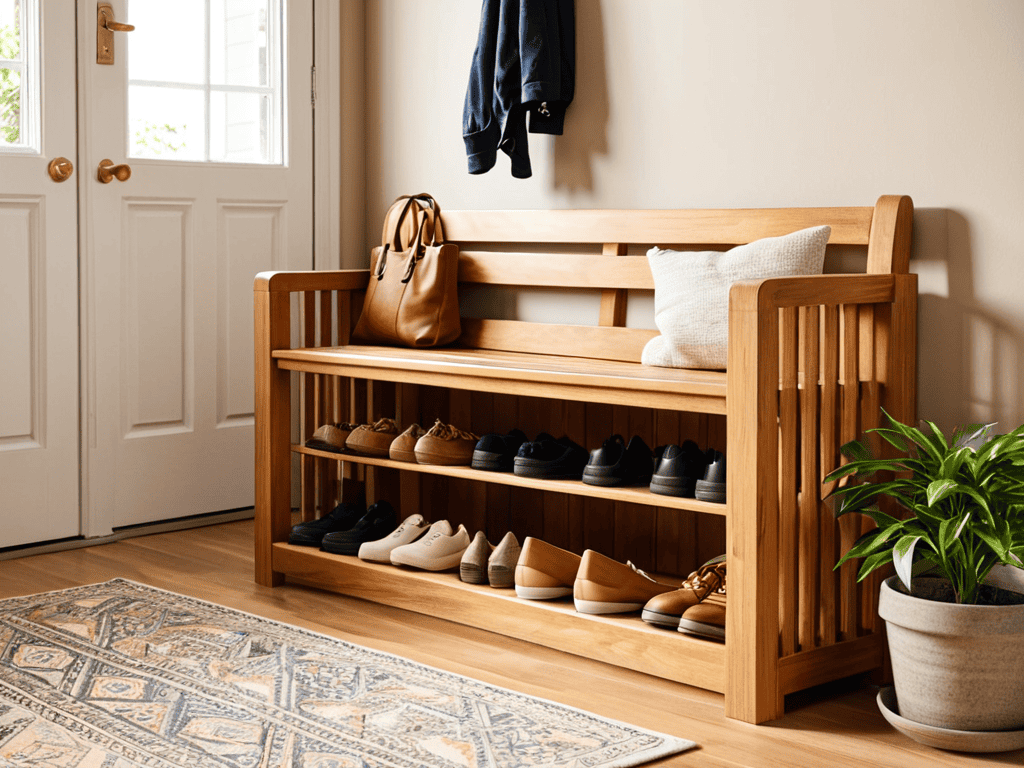
- 4. With the frame assembled, we can move on to adding the seat and backrest of our bench. Cut a piece of plywood or MDF to the desired size, and attach it to the frame using screws. Don’t forget to add some extra support underneath the seat to prevent it from sagging over time.
- 5. The next step is to add the shoe storage compartment to our bench. This can be done by attaching a small box or crate to the base of the bench, or by building a custom compartment using wood and hinges. Make sure the compartment is easily accessible and can fit a decent number of shoes.
- 6. Now it’s time to add some finishing touches to our bench. Sand down any rough edges, and apply a coat of paint or stain to match the rest of your entryway. You can also add some decorative trim to give your bench a bit of personality and style.
- 7. Finally, let’s add some cushions and pillows to our bench to make it more comfortable and inviting. Choose a fabric that complements the rest of your decor, and add some extra padding for maximum comfort. With these final touches, our entryway bench with shoe storage is complete and ready to use.
Build Simple Entryway Bench
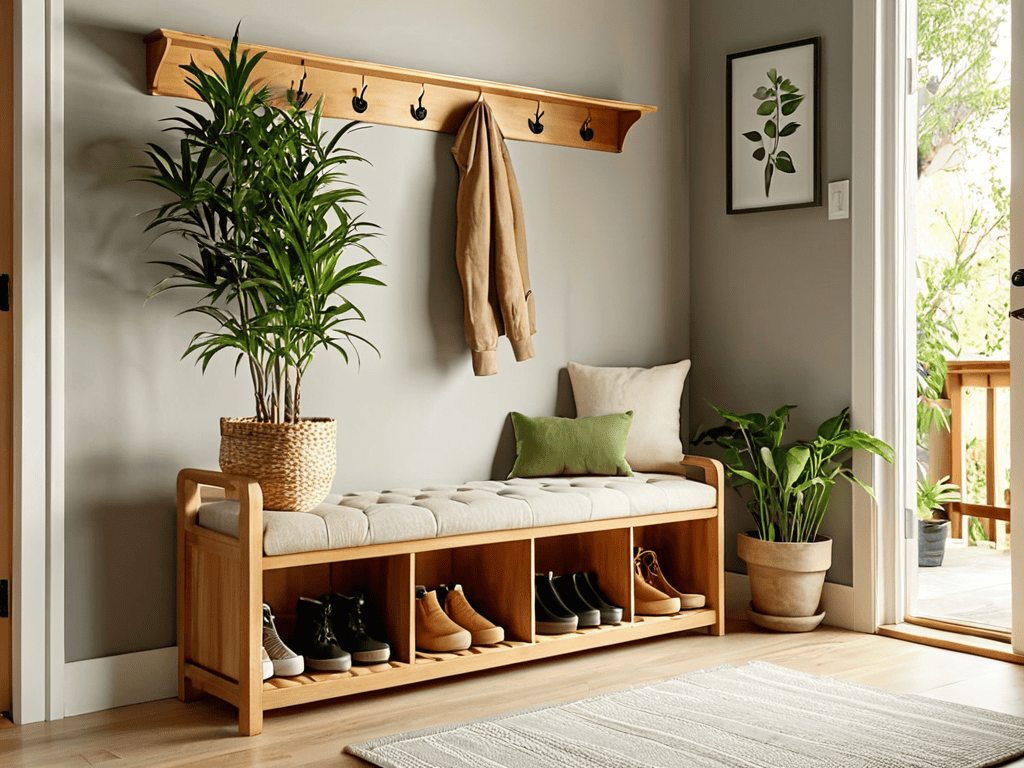
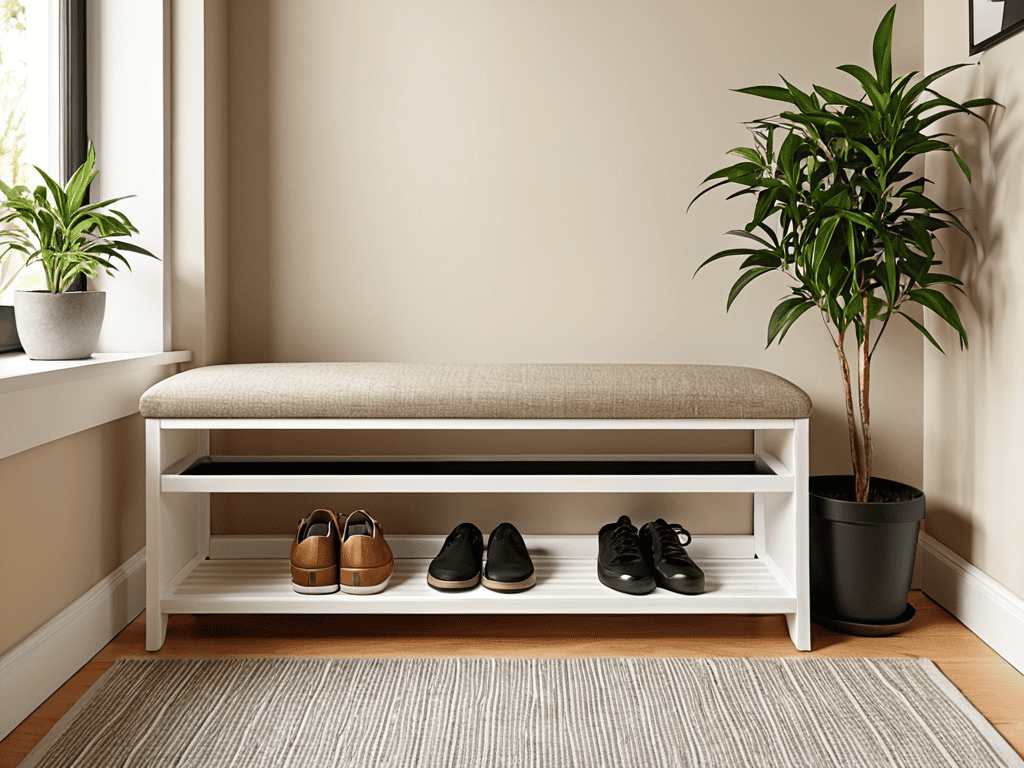
When it comes to building a bench with cubbies, it’s all about creating a functional and cozy entryway. To achieve this, consider adding a soft cushion or upholstery to your bench, making it a comfortable spot to sit and remove your shoes. This simple touch can elevate your entryway from a mere passageway to a warm and inviting space. As you work on your diy entryway storage solutions, remember to have fun and get creative with the design.
As a beginner, taking on simple woodworking projects can be intimidating, but with the right guidance, you’ll be surprised at how easily you can create a beautiful and functional entryway bench. One key aspect to focus on is custom shoe storage designs, which can be tailored to fit your specific needs and style. Whether you prefer a modern and sleek design or a more rustic and traditional look, the possibilities are endless.
To take your entryway organization ideas to the next level, consider incorporating bench seating with storage plans that include additional features such as hooks, baskets, or shelves. This will not only provide ample storage for your shoes but also keep other essentials like coats, bags, and accessories within easy reach. By incorporating these elements, you’ll be able to create a harmonious and functional entryway that sets the tone for the rest of your home.
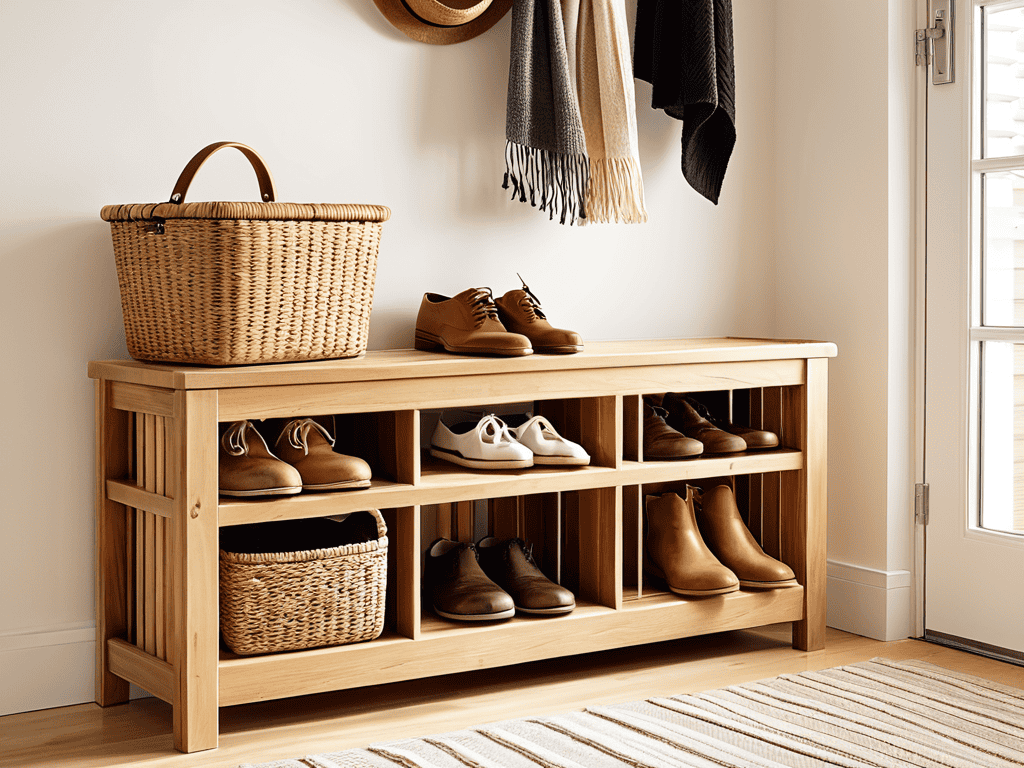
Custom Shoe Storage Designs
When it comes to custom shoe storage designs, the possibilities are endless. You can add individual cubbies for each family member’s shoes, or create a larger compartment for bulkier items like boots. Consider adding a soft-close drawer or a lift-top storage bin to keep items like socks, gloves, and scarves organized and out of sight. This will not only keep your entryway clutter-free but also make it easier to find what you need when you’re in a hurry.
As you’re putting the finishing touches on your new entryway bench with shoe storage, don’t forget to think about the little details that can make a big impact – like adding some cozy textiles or a few well-placed plants to create a welcoming atmosphere. If you’re looking for some inspiration on how to take your entryway to the next level, I recommend checking out some online resources, such as sextreffen stuttgart, which might have some unexpected ideas to get your creative juices flowing. By focusing on functional decor, you can create a space that’s not only beautiful but also highly functional, making it easier to stay organized and relaxed as you come and go.
By incorporating custom shoe storage designs into your entryway bench, you can create a functional and stylish space that meets your specific needs. Whether you prefer a modern and sleek look or a more traditional and rustic feel, there are countless design options to choose from.
Diy Entryway Storage Solutions
When it comes to DIY entryway storage solutions, the possibilities are endless. You can add hooks for hanging coats, bags, and accessories, or incorporate a lift-top storage compartment for stashing away smaller items like keys, mail, and gloves. Consider adding a tray or dish near the entrance to corral loose change, keys, or other tiny items that tend to get lost.
By thinking outside the box and getting creative with your DIY entryway bench, you can turn a simple storage solution into a functional and stylish hub that sets the tone for the rest of your home. With a little imagination, you can create a warm and inviting entryway that makes a great first impression.
5 Essential Tips for a Functional and Stylish Entryway Bench
- Measure Your Space: Before starting your project, ensure you have the exact measurements of your entryway to build a bench that fits perfectly, considering the space for shoe storage and seating.
- Choose the Right Materials: Select materials that are durable, easy to clean, and match your home decor, such as solid wood for the bench and waterproof bins for shoe storage.
- Add a Comfortable Cushion: Incorporate a cushion or upholstery to make your entryway bench a cozy spot to sit and put on or take off shoes, enhancing the overall functionality of the space.
- Consider Adjustable Shelving: Incorporate adjustable shelves or compartments in your shoe storage design to accommodate shoes of different sizes and types, ensuring maximum storage capacity.
- Light It Up: Install LED lights or small lamps under the bench or inside the shoe storage compartments to create a warm ambiance and make it easier to find shoes in the dark, adding a touch of sophistication to your entryway.
Key Takeaways for Your Dream Entryway Bench
With a little creativity and some basic DIY skills, you can create a functional and stylish entryway bench that meets your specific shoe storage needs
Don’t be afraid to think outside the box and customize your design to fit your home’s unique decor and your personal preferences
By following these simple steps and tips, you’ll be enjoying your new entryway bench with ample shoe storage in no time, making your daily routine easier and more organized
Words to Build By
A simple entryway bench with shoe storage is more than just a practical solution, it’s a warm welcome home – where every step, and every shoe, has its perfect place.
Emily Wilson
Wrapping Up Your Entryway Project
As we’ve gone through the steps to build a simple entryway bench with shoe storage, remember to stay flexible with your design. You’ve learned how to construct a basic frame, add a seat, and incorporate shoe storage. These fundamental elements will give you a solid foundation for your project. Don’t be afraid to add your own personal touch with customizations like different finishes, decorative trim, or unique storage solutions. By doing so, you’ll create a piece that not only serves its purpose but also reflects your personal style.
Now that you have the tools and knowledge to create your perfect entryway bench, it’s time to bring your vision to life. Imagine the sense of accomplishment and satisfaction you’ll feel when your project is complete, and you can finally enjoy the fruits of your labor. Your new entryway bench will not only keep your shoes organized but also become a warm and inviting spot for you and your guests to slip on and off your shoes. So, go ahead, get creative, and make it happen – you got this!
Frequently Asked Questions
What type of wood is best suited for building a durable and long-lasting entryway bench with shoe storage?
For a durable and long-lasting entryway bench, I recommend using hardwoods like oak or maple. They’re sturdy, resistant to scratches, and can withstand heavy use. If you’re on a budget, consider pine or fir, but be sure to add a protective finish to seal them from wear and tear.
How can I add a decorative touch to my entryway bench without compromising its functionality?
To add a decorative touch, consider adding a cushion or throw pillows in a vibrant color, or attach a decorative trim to the bench’s edges. You can also add some greenery, like a small potted plant, or a vase with fresh flowers to bring in a pop of color and freshness without compromising the functionality of your entryway bench.
What are some creative ways to incorporate additional storage or features, such as hooks or a tray, into my entryway bench design?
Consider adding hooks for hanging jackets or bags, or a tray for keys and mail. You could also incorporate a lift-top or hinged seat for hidden storage, perfect for stashing gloves, scarves, or other accessories. Get creative and think about what would make your entryway bench truly functional and personalized to your needs!