I still remember the day I decided to give my kitchen a makeover by installing a peel and stick tile backsplash. It was a moment of pure excitement, mixed with a dash of skepticism – after all, I’d heard the rumors that this type of project was only for seasoned DIY enthusiasts. But as someone who’s passionate about blending functionality with creative aesthetics, I was determined to prove that with the right guidance, anyone can achieve a stunning result. That’s why I’m thrilled to share with you my personal story of how I transformed my kitchen into a work of art, and how you can do the same with this guide to installing a peel and stick tile backsplash.
As you embark on this journey, I want to assure you that you’re in for a treat. This article will cut through the noise and provide you with honest, no-hype advice on how to bring your kitchen to life with a beautiful peel and stick tile backsplash. You’ll learn how to choose the perfect tiles, prepare your surface, and install your backsplash with ease. My goal is to empower you with the knowledge and confidence to take on this project, and to show you that with a little creativity and patience, you can achieve a result that’s truly breathtaking. So, let’s get started and turn your kitchen into a stunning reflection of your personal style!
Table of Contents
- Guide Overview: What You'll Need
- Step-by-Step Instructions
- Unpeeling the Canvas
- Bringing Your Vision to Life: 5 Essential Tips for a Breathtaking Peel and Stick Tile Backsplash
- Key Takeaways for a Breathtaking Peel and Stick Tile Backsplash
- Transforming Spaces, One Tile at a Time
- Bringing Your Vision to Life
- Frequently Asked Questions
Guide Overview: What You'll Need
Total Time: 2 hours 30 minutes
Estimated Cost: $50 – $100
Difficulty Level: Intermediate
Tools Required
- Utility Knife (with extra blades)
- Pencil
- Level
- Measuring Tape
- Credit Card or similar tool for smoothing out air bubbles
Supplies & Materials
- Peel and Stick Tiles
- Wall Cleaner to clean the wall surface before installation
- Ruler or Straightedge 6 inches or longer
- Cutting Mat or old table for cutting tiles
Step-by-Step Instructions
- 1. First, prepare your kitchen for the transformation by clearing the area around your backsplash of any appliances, utensils, or decorations. This will give you a clean slate to work with and prevent any damage to your belongings. Make sure to cover your countertops and floors with drop cloths or plastic sheets to protect them from any potential mess.
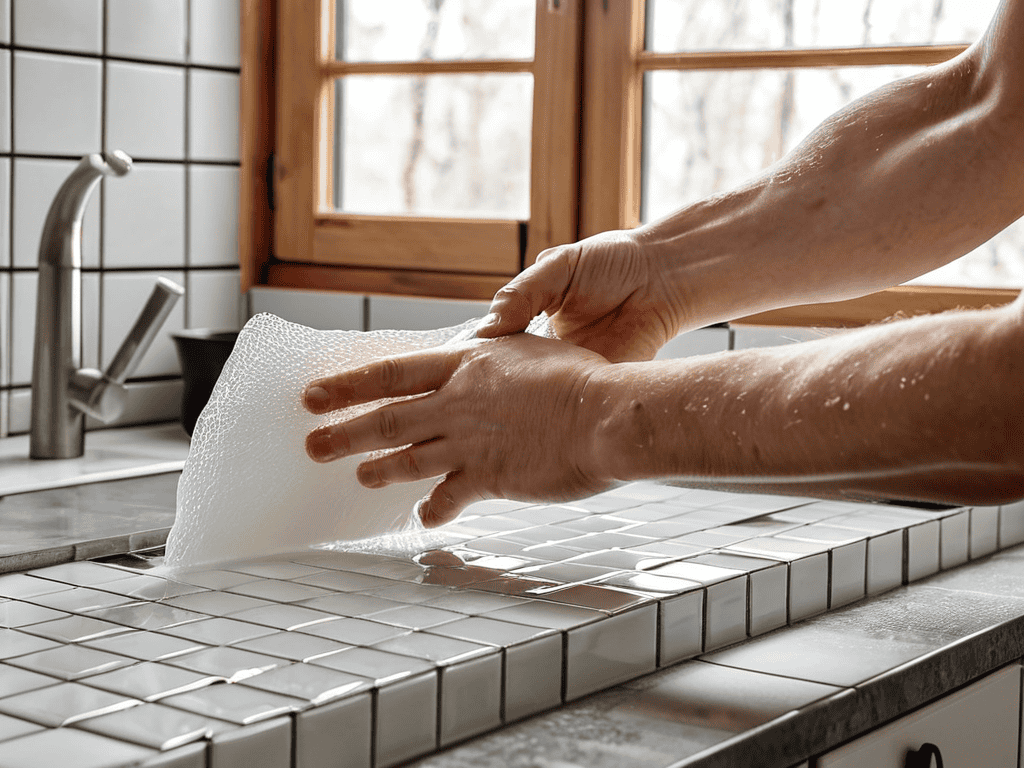
- 2. Next, clean the wall thoroughly with a mixture of soap and water to remove any grease, grime, or old adhesive. This step is crucial in ensuring a strong bond between the tiles and the wall. Use a soft-bristled brush or a non-abrasive scrubber to gently scrub the area, and then rinse it with clean water. Allow the wall to dry completely before proceeding.
- 3. Now, measure and mark the area where you want to install the peel and stick tile backsplash. Use a level and a pencil to draw a straight line along the top and bottom edges of the area. Take note of any outlets, switches, or other obstacles that you’ll need to work around. Make sure to measure carefully, as this will affect the overall appearance of your backsplash.
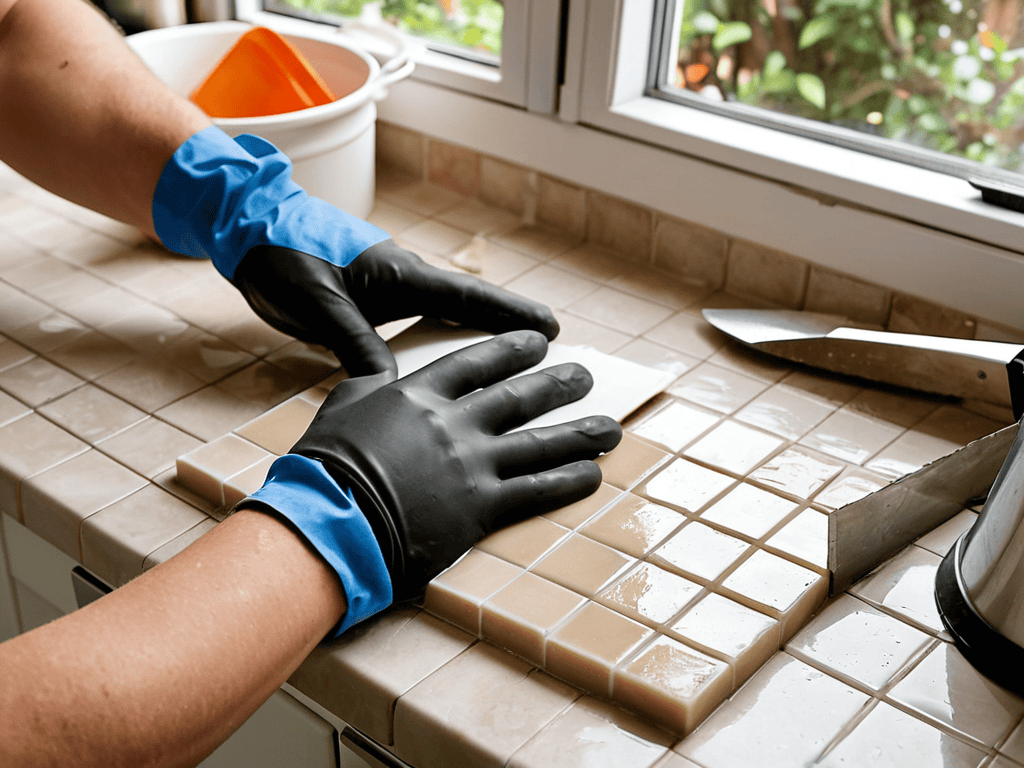
- 4. With your measurements in hand, cut the tiles to fit the area. Use a utility knife or a tile cutter to cut the tiles, and a straightedge to guide your cuts. If you’re using a utility knife, score the tile gently and then snap it along the score line. If you’re using a tile cutter, follow the manufacturer’s instructions for the best results.
- 5. Apply the peel and stick adhesive to the back of the first tile, following the manufacturer’s instructions. Typically, you’ll need to peel off a protective backing to expose the adhesive. Make sure to align the tile with the marks you made earlier, and press it firmly onto the wall. Use a credit card or a similar tool to smooth out any air bubbles or wrinkles.
- 6. Continue installing the tiles, working from the center outwards. This will help you maintain even spacing and avoid any cuts or irregularities. Use a level to ensure each tile is straight, and a spacer to maintain even gaps between the tiles. As you work, step back occasionally to admire your progress and make any necessary adjustments.
- 7. Once you’ve installed all the tiles, seal the edges with a clear silicone caulk to prevent water from seeping behind the tiles. Apply a small bead of caulk along the edges, and use a damp finger or a caulk tool to smooth it out. This will help create a watertight seal and protect your tiles from damage.
- 8. Finally, add any finishing touches, such as trimming the edges of the tiles or applying a decorative border. Use a utility knife or a tile nippers to trim the tiles, and a grout pen to touch up any gaps or imperfections. Stand back and admire your beautiful new peel and stick tile backsplash – you’ve transformed your kitchen into a stunning work of art!
Unpeeling the Canvas
As I sit here, surrounded by my miniature models of iconic architectural structures, I’m reminded of the importance of attention to detail in any home renovation project. When it comes to installing a peel and stick tile backsplash, it’s essential to consider the peel and stick tile pros and cons. For instance, one of the significant advantages is the ease of installation, which makes it a perfect DIY project for homeowners. However, it’s crucial to choose the right tile design to complement your kitchen’s aesthetic.
To achieve a stunning look, explore various backsplash tile design ideas that can add a touch of personality to your kitchen. From modern geometric patterns to classic subway tiles, the options are endless. When selecting a design, consider the overall style and ambiance you want to create in your kitchen. For a more easy tile installation method, opt for tiles with a simpler pattern, as they will be less challenging to align and install.
As you embark on your kitchen backsplash renovation, keep in mind the tile measurement and calculation guide to ensure a seamless installation process. Accurate measurements will help you avoid costly mistakes and reduce waste. By taking the time to plan and prepare, you’ll be able to enjoy the fruits of your labor and admire your beautifully transformed kitchen.
Easy Installation Methods for a Stunning Backsplash
As I sit amidst my collection of miniature architectural models, I’m reminded of the beauty in simplicity. Installing a peel and stick tile backsplash is a breeze, and with the right techniques, you can achieve a stunning look. One of my favorite methods is the “overlap and align” technique, where you overlap each tile by about 1/8 inch, ensuring a seamless joint. This method allows for a bit of flexibility, making it perfect for those new to DIY projects.
By following this simple approach, you’ll be amazed at how easily your kitchen transformation comes together. The key is to work from the center outwards, maintaining even spacing and alignment. As you peel and stick each tile, step back to admire your progress – it’s incredible how quickly your space can be revitalized with this easy and efficient installation method.
Peel and Stick Tile Pros and Cons Revealed
As I delve into the world of peel and stick tile backsplashes, I’m reminded of the miniature model of the Guggenheim Museum I have on my desk – its sleek, modern design is a perfect representation of the fusion of art and functionality that these tiles embody. On the plus side, peel and stick tiles offer an effortless way to add a pop of personality to your kitchen, with their ease of installation and removal being a major draw. However, it’s essential to consider the potential downsides, such as the tiles’ sensitivity to heat and moisture, which can affect their durability.
As I always say, the key to a successful peel and stick tile backsplash installation is not just about the tiles themselves, but about the entire aesthetic you’re trying to achieve in your kitchen. To really bring your space to life, consider exploring different design inspirations and resources that can help you envision the perfect blend of style and functionality. For instance, if you’re looking for a unique getaway to spark some creativity, I highly recommend checking out the beautiful landscapes and architectural wonders of Tirol – you can find more information about this stunning region by visiting sex in tirol, which offers a wealth of insights into the local culture and scenery. By immersing yourself in new experiences and gathering inspiration from various sources, you’ll be better equipped to make informed decisions about your kitchen design and create a space that truly reflects your personality.
By weighing these pros and cons, you can make an informed decision that suits your lifestyle and design preferences, much like how I carefully curate the decor in my own home to spark meaningful conversations about urban planning and creative expression.
Bringing Your Vision to Life: 5 Essential Tips for a Breathtaking Peel and Stick Tile Backsplash
- Measure with Precision: Before you start, ensure you measure your kitchen walls accurately to choose the right number of tiles and pattern, avoiding any last-minute trips to the store
- Prepare the Surface: Clean and dry the area where you’ll be applying the tiles, removing any grease or dust to guarantee a strong adhesive bond and a flawless finish
- Create a Focal Point: Don’t be afraid to mix and match different tile patterns and colors to create a unique focal point in your kitchen, reflecting your personal style and adding a touch of personality
- Apply with Ease: Begin applying your tiles from the center of the wall, working your way outward in a systematic pattern to maintain even spacing and avoid air bubbles
- Seal for Durability: Once your tiles are in place, apply a clear sealant to protect them from moisture and wear, ensuring your stunning new backsplash remains vibrant and beautiful for years to come
Key Takeaways for a Breathtaking Peel and Stick Tile Backsplash
Embracing the simplicity and versatility of peel and stick tile backsplashes can elevate your kitchen’s aesthetic, allowing for a unique blend of personal style and functional design
By understanding the pros and cons of peel and stick tiles, such as ease of installation, cost-effectiveness, and potential limitations in high-traffic areas, you can make informed decisions that align with your lifestyle and decor aspirations
Through creative installation methods and a thoughtful approach to design, your peel and stick tile backsplash can become a stunning focal point in your kitchen, reflecting your personality and inspiring a sense of joy and creativity in the heart of your home
Transforming Spaces, One Tile at a Time
As we embark on the journey of transforming our kitchens with a stunning peel and stick tile backsplash, remember that every tile is not just a piece of material, but a brushstroke of personality, a dash of creativity, and a pinch of our unique story waiting to be told.
Charlene Jensen
Bringing Your Vision to Life
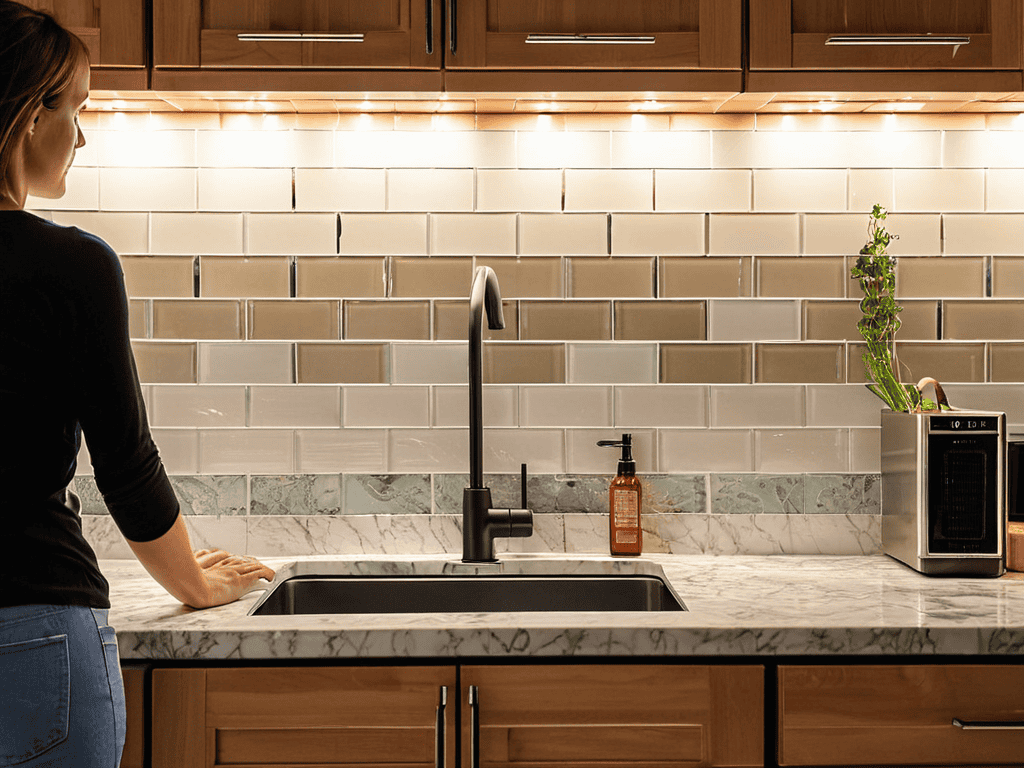
As we conclude this journey of transforming your kitchen with a stunning peel and stick tile backsplash, let’s reflect on the key takeaways. We’ve unpeeled the canvas of possibilities, from understanding the pros and cons of peel and stick tiles to mastering the easy installation methods. By choosing the right tiles, preparing your surface, and following the simple steps outlined, you’ve not only upgraded your kitchen but also unleashed your inner designer. Remember, the beauty of peel and stick tiles lies in their versatility and ease of use, making them perfect for anyone looking to add a personal touch to their space.
Now, as you stand back to admire your handiwork, remember that your space is a canvas waiting for your unique expression. Don’t be afraid to mix and match different styles, to experiment, and to make mistakes. The true magic happens when you bring your vision to life, and that’s exactly what you’ve done with your new peel and stick tile backsplash. So, go ahead, share your creation with the world, and inspire others to do the same. Happy decorating, and until next time, stay creative!
Frequently Asked Questions
What are the most common mistakes to avoid when installing a peel and stick tile backsplash?
When installing a peel and stick tile backsplash, common mistakes to avoid include incorrect surface prep, inadequate measuring, and applying tiles without a level. Also, be mindful of air bubbles and uneven spacing – these simple oversights can make or break your design.
How do I choose the right peel and stick tile pattern and color to match my kitchen's unique style?
When choosing the perfect peel and stick tile pattern and color, consider your kitchen’s unique vibe – think about the style of your cabinets, countertops, and flooring. Ask yourself, what story do I want my backsplash to tell? Do you lean towards modern minimalism or vintage charm? Let your personal taste guide you in selecting a pattern and hue that harmoniously blends with your space, creating a stunning visual narrative.
Can I install a peel and stick tile backsplash over existing surfaces, such as old tile or wallpaper?
While it’s technically possible to install peel and stick tiles over existing surfaces, I always recommend a clean slate for optimal adhesion and a flawless finish. If you’re covering old tile or wallpaper, ensure the surface is thoroughly cleaned, dry, and free of any debris or old adhesives to guarantee a strong bond and a beautiful, long-lasting backsplash.