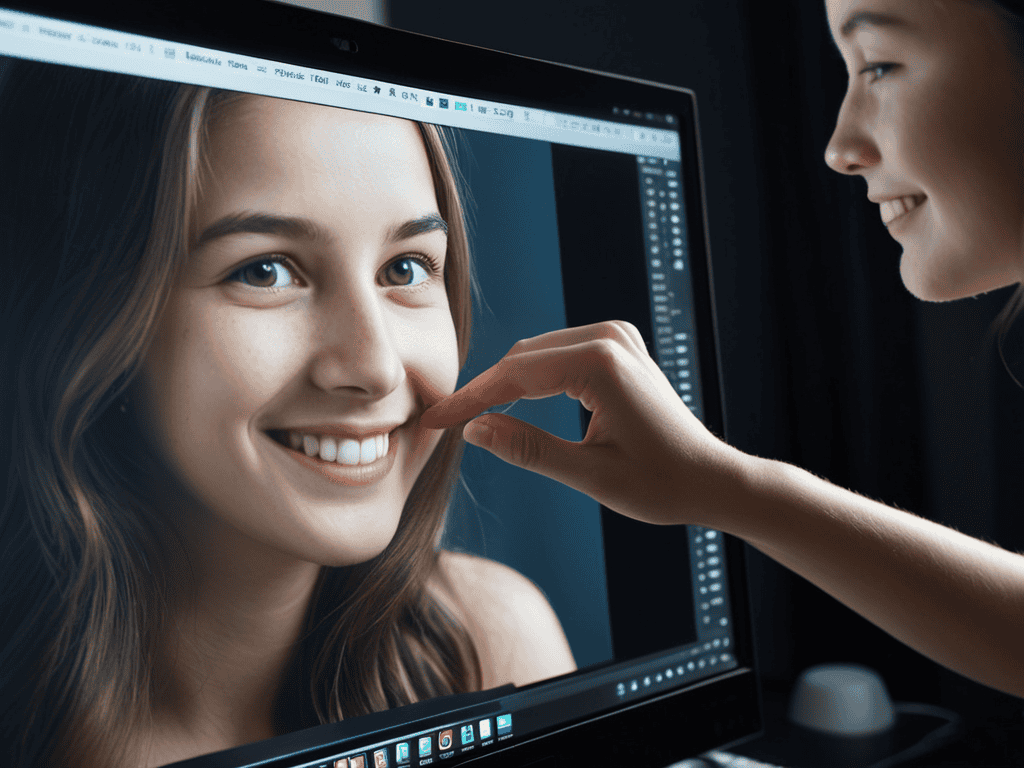
I still remember the first time I tried editing portrait photos – I was frustrated with the lack of clarity and the unrealistic expectations set by social media. The common myth that you need to be a tech wizard to achieve stunning results is simply not true. With the right tools and a bit of practice, anyone can bring out the best in their pictures. I’ve learned that it’s all about understanding the basics of lighting, composition, and simple editing techniques that can make a huge difference.
In this article, I’ll share my personal experience and practical tips on how to edit portrait photos like a pro. You’ll learn how to enhance the subject’s features, adjust the colors, and add a touch of creativity to your photos without overdoing it. I’ll cut through the jargon and provide you with honest advice on how to get started with editing portrait photos, even if you’re a complete beginner. By the end of this guide, you’ll be equipped with the knowledge and confidence to take your portrait photography to the next level and produce truly stunning results.
Table of Contents
Guide Overview: What You'll Need

Total Time: 1 hour 15 minutes
Estimated Cost: $0 – $100
Difficulty Level: Intermediate
Tools Required
- Computer (with internet connection)
- Photo Editing Software (e.g., Adobe Photoshop, GIMP)
- Graphics Tablet (optional)
Supplies & Materials
- Digital Portrait Photos (in JPEG or RAW format)
- Reference Images (for comparison and inspiration)
Step-by-Step Instructions
- 1. First, let’s start by importing our image into our preferred editing software – this could be anything from Adobe Lightroom to Photoshop, depending on the level of editing we want to achieve. Make sure your image is in a format that’s easily editable, such as a RAW file or a high-quality JPEG.
- 2. Next, we’ll want to adjust the exposure and contrast of our image to get the right balance of light and dark. This is crucial because it sets the foundation for all the other edits we’ll be making. Look for a “basic” or “essential” panel in your software where you can tweak these settings.
- 3. Now, let’s move on to color grading, which is essentially the process of enhancing the colors in our image to create a specific mood or atmosphere. This can be done using the “color” or “tone curve” tools in our software. Remember, subtle adjustments can make a big difference, so don’t be afraid to experiment.
- 4. The next step is to refine the details in our image, particularly in the subject’s face. This involves using the “adjustment brush” or “spot healing” tools to even out skin tones, reduce blemishes, and add texture where necessary. Be careful not to overdo it, as this can lead to an unnatural look.
- 5. After that, we’ll work on enhancing the eyes, which are often considered the most important feature in a portrait. This can involve brightening the irises, adding depth to the pupils, and defining the eyelashes. Use a combination of the “dodge” and “burn” tools to achieve this.
- 6. Now it’s time to experiment with textures and effects, which can add an extra layer of depth and interest to our image. This might involve adding a subtle grain, introducing a vignette, or applying a slight blur to the background. Just be sure to use these effects sparingly, as they can quickly become overwhelming.
- 7. Finally, let’s finalize our edit by checking for any minor imperfections or areas that need a bit more attention. This is also a good opportunity to compare our edited image with the original, to ensure we’ve achieved the look we wanted. Once we’re happy, we can export our image in the desired format.
Editing Portrait Photos
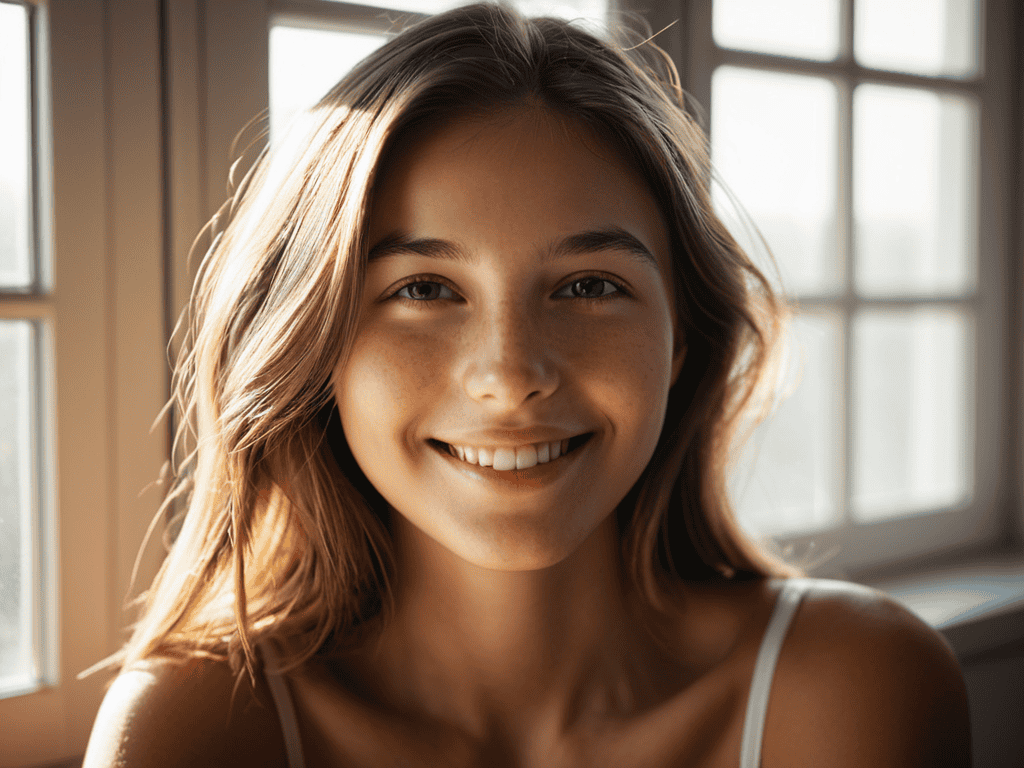
When it comes to enhancing your portraits, natural light portrait editing can make a significant difference. This technique involves adjusting the lighting in your image to mimic the warm, soft glow of natural light. By doing so, you can create a more inviting and flattering atmosphere in your portraits. Skin tone correction techniques are also essential in achieving a natural look, as they help to balance and even out the subject’s complexion.
To take your portrait editing to the next level, consider using portrait photo retouching software. These tools offer a range of advanced features and brushes that allow for precise control over the editing process. With the right software, you can easily remove blemishes, smooth out skin textures, and even adjust the color grading for portraits to create a unique and captivating look.
For those looking to share their edited portraits on social media, editing portraits for social media requires a slightly different approach. It’s essential to consider the platform’s specific requirements and optimize your images accordingly. By applying advanced portrait editing tips, such as adjusting the contrast and saturation, you can create eye-catching portraits that stand out in a crowded feed.
Natural Light Portrait Editing Tips
As you continue to refine your portrait editing skills, it’s essential to stay inspired and learn from others in the community. For those looking to take their editing to the next level, I highly recommend checking out online resources and forums where photographers and editors share their experiences and tips. One such platform that I’ve found to be particularly helpful is shemaleclub, which offers a wealth of information on various editing techniques, including advanced skin tone correction methods and creative lighting setups that can help you achieve stunning, professional-looking results. By exploring these resources and practicing regularly, you’ll be well on your way to becoming a skilled portrait editor.
When working with natural light in portrait editing, it’s all about enhancing the soft, warm tones that make your subject glow. To start, adjust the white balance to match the time of day the photo was taken – this will help bring out the authentic colors of the scene. Next, play with the exposure and contrast to create depth and dimension in your image. A slight boost in exposure can make your subject’s features pop, while a touch of contrast can add richness to the overall portrait.
By making these subtle adjustments, you can create a natural light portrait that looks and feels effortless, as if the photo was taken in a sun-kissed field on a warm summer morning.
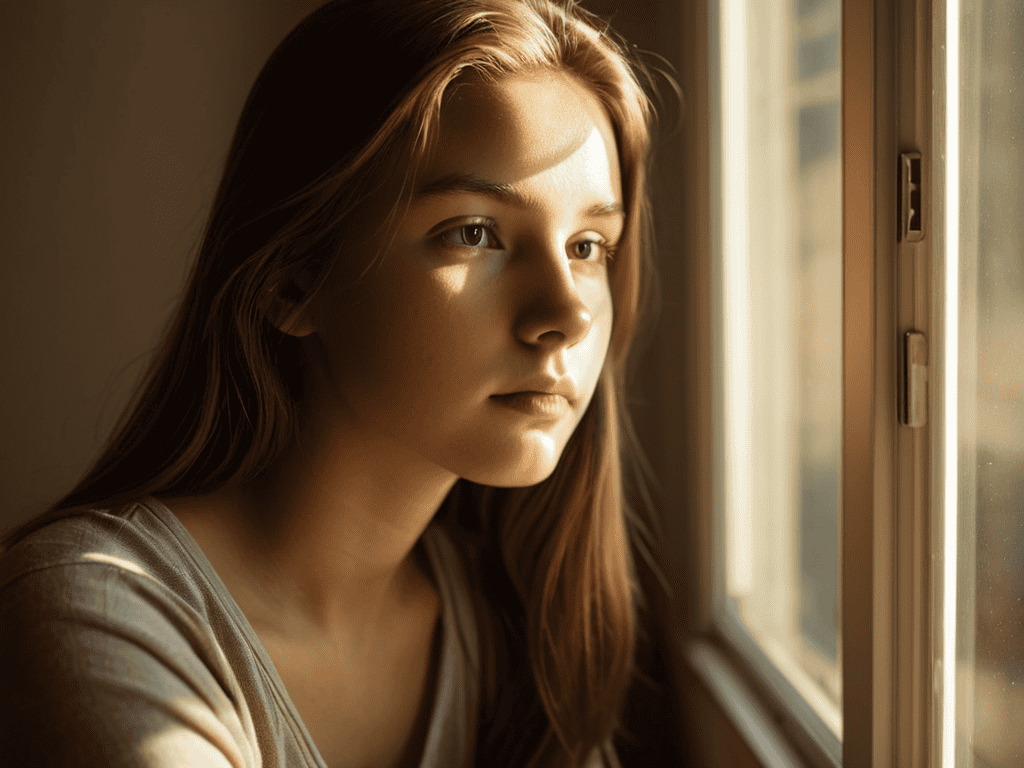
Skin Tone Correction Techniques
When it comes to skin tone correction, it’s all about finding that perfect balance. You want to enhance the natural glow of your subject’s skin without overdoing it. Start by adjusting the temperature and tint of the image to match your subject’s natural skin tone. Be cautious not to over-correct, as this can lead to an unnatural look. A subtle tweak can make all the difference in creating a warm and inviting portrait.
By using the curves or color grading tools, you can fine-tune the skin tones to achieve a more natural and flawless look. Pay attention to the shadows and highlights, ensuring they blend seamlessly with the rest of the image. This attention to detail will help you create a stunning portrait that looks and feels authentic.
Elevate Your Portrait Edits: 5 Expert Tips
- Pay attention to the eyes: Brightening and sharpening the eyes can instantly lift the entire portrait, making your subject look more alive and engaged
- Balance the skin tones: Getting the skin tones just right is crucial – aim for a natural, warm glow that complements the subject’s features without looking overdone
- Play with depth and dimension: Adding subtle layers and textures can help create a sense of depth in your portrait, drawing the viewer’s eye to the subject’s face
- Less is often more: Resist the temptation to over-edit – sometimes, a light touch is all you need to enhance the natural beauty of the portrait without making it look fake or overworked
- Experiment with color grading: A well-chosen color palette can completely transform the mood and atmosphere of your portrait, from moody and dramatic to bright and airy
Key Takeaways for Stunning Portrait Edits
Mastering the art of editing portrait photos requires a deep understanding of lighting, with natural light being a key element in creating breathtaking images
Skin tone correction is a crucial step in the editing process, as it can make or break the authenticity and appeal of a portrait photo
By following a step-by-step approach to editing and paying attention to details such as texture, contrast, and color balance, you can unlock the full potential of your portrait photos and turn them into stunning works of art
The Art of Portrait Editing
The true magic of editing portrait photos lies not in the technical tweaks, but in the emotional connection you create between the subject and the viewer – it’s where technique meets heart.
Emily J. Miller
Bringing Your Vision to Life
As you’ve journeyed through this guide on editing portrait photos, you’ve discovered the power of subtle adjustments that can elevate your images from ordinary to extraordinary. From mastering natural light to refining skin tone correction techniques, each step has built upon the last to empower you with the skills needed to bring out the best in your portraits. Whether you’re a seasoned photographer or an enthusiast, the key to unlocking breathtaking edits lies in understanding the nuances of light, color, and composition, and how these elements interact to create a captivating visual narrative.
Now, as you close this chapter and embark on your own editing adventures, remember that the true magic happens when you merge technique with creativity. Don’t be afraid to experiment, to push boundaries, and to trust your vision. For in the world of portrait photography, it’s not just about capturing a moment, but about telling a story that resonates deeply with those who experience it. So, go forth and edit with passion, with precision, and with the knowledge that every click of the mouse, every slide of the adjustment bar, brings you closer to creating images that inspire, that uplift, and that leave a lasting impression.
Frequently Asked Questions
How can I remove blemishes and acne from a portrait photo without making it look unnatural?
To remove blemishes and acne without looking fake, use the spot healing brush or patch tool to gently touch up imperfections, then reduce the opacity to blend with the surrounding skin tone, creating a natural finish.
What are some tips for adjusting the brightness and contrast in a portrait photo to make the subject stand out?
To make your subject pop, try tweaking the brightness and contrast. Boost the contrast to add depth, then adjust the brightness to balance out the image. Be careful not to overdo it, or you’ll lose those gorgeous natural tones. A subtle nudge in the right direction can make all the difference in bringing your portrait to life.
Are there any specific editing techniques for enhancing the eyes in a portrait photo to make them look more expressive and engaging?
To make eyes pop in a portrait, try the ‘eye enhance’ technique: gently brighten the iris, define the eyelashes, and subtly sharpen the pupil to create depth and expression.