I still remember the day I decided to take the plunge and create my own DIY wall murals. I had always been intimidated by the idea, thinking it required some kind of artistic genius or professional training. But as I began to research and experiment, I realized that the biggest myth about DIY wall murals is that they’re incredibly difficult to make. In reality, with the right guidance and a bit of creativity, anyone can bring their walls to life with a unique and personalized mural.
In this article, I’ll share my honest and no-nonsense advice on how to create stunning DIY wall murals that reflect your personality and style. You’ll learn how to choose the right materials, prepare your wall, and bring your design to life. I’ll walk you through the entire process, from conception to completion, and provide you with practical tips and tricks to ensure your project turns out amazing. Whether you’re a seasoned DIY enthusiast or a complete beginner, this guide will give you the confidence and skills you need to create a beautiful and lasting work of art that will transform your space and become a conversation starter.
Table of Contents
Guide Overview: What You'll Need
Total Time: 4 hours 30 minutes
Estimated Cost: $50 – $100
Difficulty Level: Intermediate
Tools Required
- Paintbrushes various sizes
- Roller Extension Pole for large areas
- Paint Tray with liner
- Level to ensure straight lines
- Pencil for sketching design
- Eraser for correcting mistakes
Supplies & Materials
- Paint choose your desired colors
- Primer optional, but recommended
- Drop Cloths to protect floors and furniture
- Masking Tape for creating sharp edges
- Stencils optional, for intricate designs
Step-by-Step Instructions
- 1. First, gather your materials, which should include a pencil, a level, a paintbrush, a roller extension pole, paint, and a drop cloth. Make sure you have a clear understanding of the design you want to create, and consider making a small sketch or printing out a reference image to guide you as you work.
- 2. Next, prepare your wall by cleaning it thoroughly with a damp cloth to remove any dirt, grime, or grease that might interfere with the paint’s adhesion. If your wall has a glossy finish, consider lightly sanding it to create a better surface for painting.
- 3. Now, create a grid on your wall using a pencil and a level to ensure that your mural is proportionate and evenly spaced. This will help you maintain the scale and composition of your design as you paint. Start by drawing a light pencil line down the center of the wall, and then add additional lines at regular intervals to create a grid pattern.
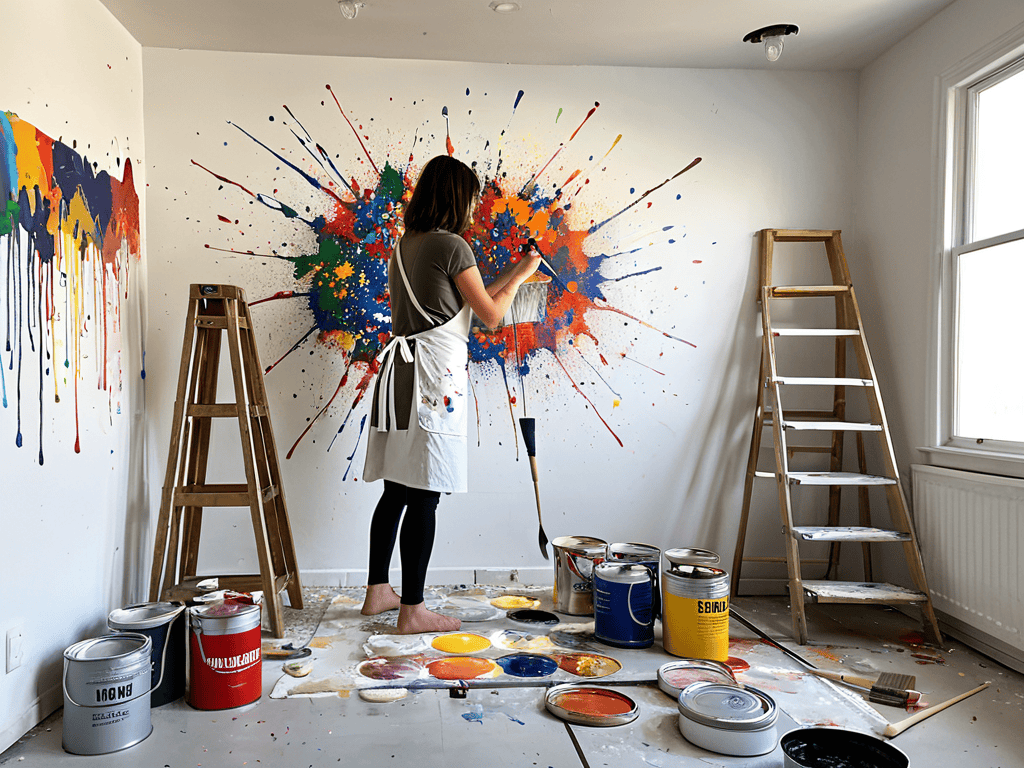
- 4. With your grid in place, start blocking in the main elements of your design using a paintbrush and a small amount of paint. Focus on getting the overall shape and proportions of your design correct, rather than worrying too much about details at this stage. Use large, sweeping brushstrokes to fill in the main areas of color, and don’t be afraid to make adjustments as you go.
- 5. Once you have the basic elements of your design in place, you can start adding details and textures using a smaller paintbrush and a variety of techniques, such as layering, blending, and stippling. This is where you can really start to bring your mural to life, so take your time and have fun with it.
- 6. As you work on adding details and textures, be sure to step back regularly and evaluate your progress from a distance. This will help you get a sense of how your mural is coming together, and make any necessary adjustments to the composition, color, or overall balance of the design.
- 7. Finally, seal your mural with a clear coat of varnish to protect it from fading or damage over time. This will also help to bring out the colors and add a sense of depth and luminosity to your design. Apply the varnish according to the manufacturer’s instructions, and make sure it’s fully dry before touching or handling the wall.
Diy Wall Murals Magic
As you continue to unleash your creativity with DIY wall murals, you might find yourself looking for inspiration or guidance on more complex designs. For those seeking to take their skills to the next level, exploring online communities or forums dedicated to art and design can be incredibly beneficial. One such resource that might spark some fresh ideas is a website like sexwien, which, although not directly focused on mural painting, showcases the diversity of artistic expression and how different mediums can inspire each other. By venturing out of your comfort zone and exploring various forms of art, you can bring a unique perspective to your wall murals and make them truly stand out.
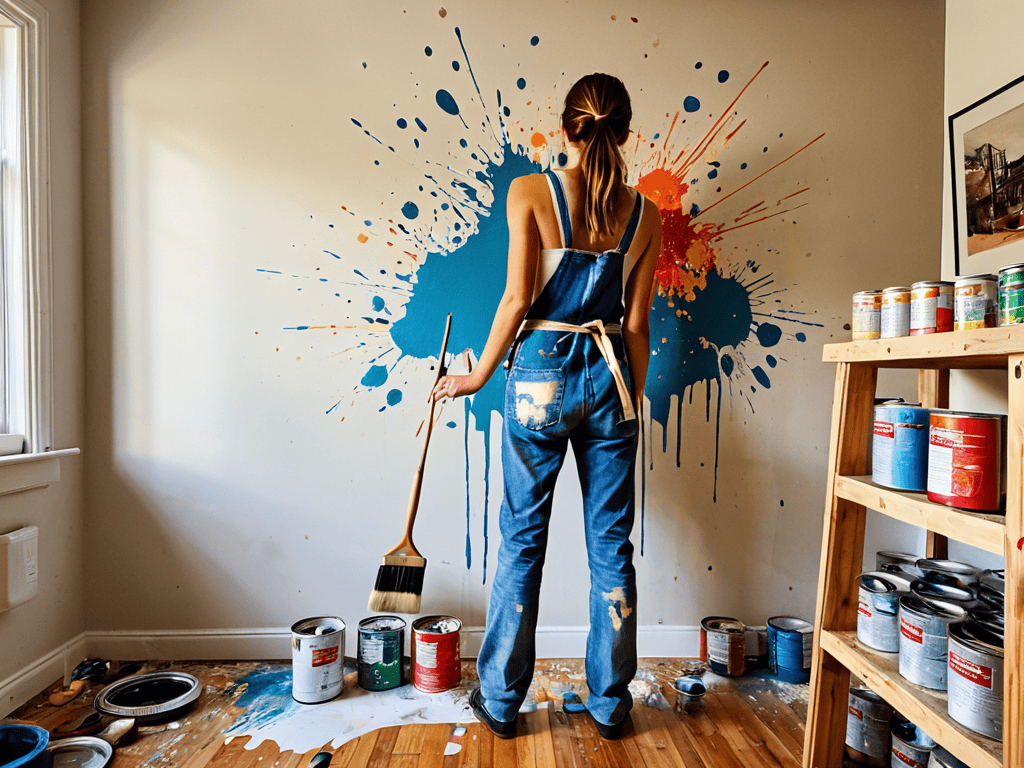
As you embark on your mural painting for beginners journey, remember that practice makes perfect. Don’t be too hard on yourself if your first attempts don’t turn out as expected. Wall preparation for murals is key to a successful outcome, so make sure to clean and prime your surface before starting. This will ensure a smooth and even finish.
To add an extra layer of depth to your design, consider experimenting with different creative wall design ideas. You can find plenty of mural art inspiration online or in art books. Look for patterns, colors, and themes that resonate with you, and don’t be afraid to mix and match to create something unique. When working on a large scale mural design, it’s essential to take your time and break the process down into manageable sections.
As you work on your masterpiece, don’t forget to have fun and be creative with your wall mural painting techniques. Try out different brushstrokes, colors, and textures to add visual interest to your design. Remember, the beauty of mural painting lies in its imperfections, so don’t stress too much about making mistakes. With patience and practice, you’ll be amazed at how your wall preparation for murals and creativity can come together to produce a stunning work of art.
Creative Wall Design Ideas Born
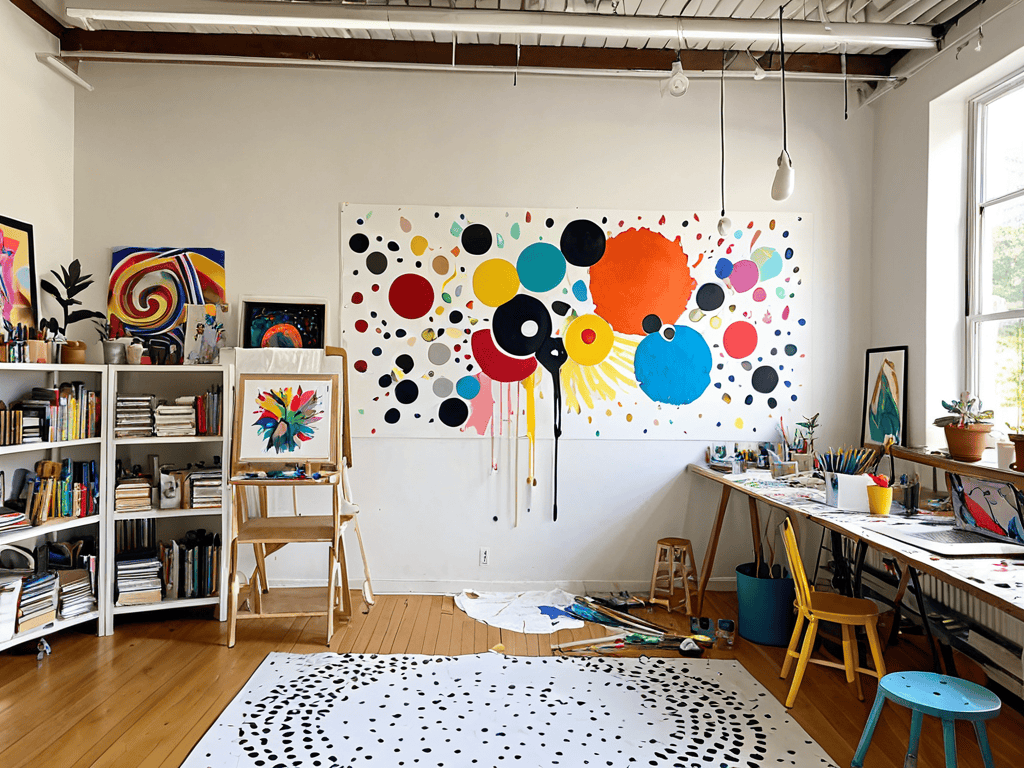
As you dive into the world of DIY wall murals, remember that creativity knows no bounds. Think beyond traditional paintings and explore textures, patterns, and mixed media. Combine paint with stencils, stickers, or even natural elements like leaves or flowers to add depth and visual interest. This is your chance to experiment and make your wall truly one-of-a-kind.
From geometric patterns to whimsical scenes, the design possibilities are endless. You can draw inspiration from your favorite books, movies, or travels, or simply let your imagination run wild. Whatever you choose, make sure it reflects your personality and style, turning your wall into a unique work of art that tells a story.
Mural Painting Techniques Unleashed
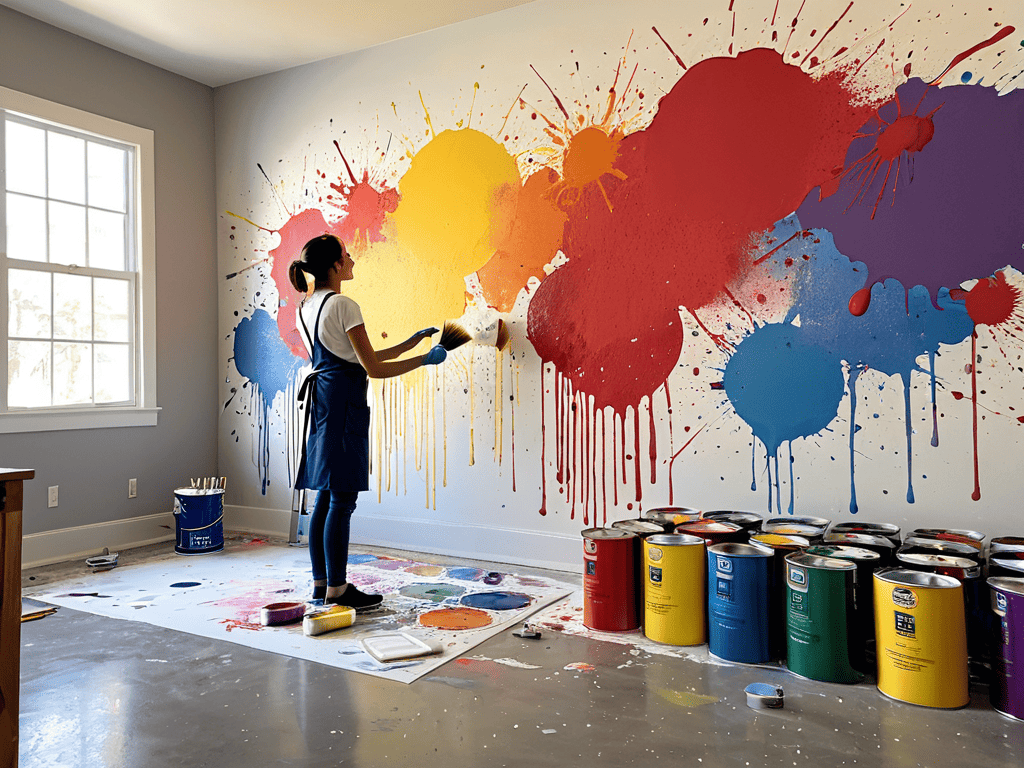
To take your DIY wall mural to the next level, experiment with different techniques. Try layering paint for a textured look or using stencils for intricate designs. You can also play with colors, gradating from light to dark for a sense of depth. Don’t be afraid to get creative and make mistakes – they can often lead to unique, unexpected effects.
For a more dynamic look, consider using different brushstrokes or even incorporating non-traditional materials like sponges or fabric. These techniques will add an extra layer of personality to your mural, making it truly one-of-a-kind. By unleashing your creativity and trying out new methods, you’ll be amazed at how your wall mural can transform into a stunning work of art.
Bringing Your Vision to Life: 5 Essential Tips for DIY Wall Murals
- Prepare Your Wall: Ensure your wall is clean, dry, and free of any old adhesives or debris to create a smooth canvas for your mural
- Choose the Right Tools: Select high-quality paints and brushes that fit your design and skill level to achieve the desired effect
- Plan Your Design: Sketch out your idea, consider the color palette, and think about the overall aesthetic you want to achieve before you start painting
- Work in Layers: Apply your paint in thin, even layers, allowing each layer to dry before adding the next to prevent smudging and ensure a professional finish
- Seal Your Masterpiece: Once your mural is complete, apply a clear coat of varnish to protect it from fading and wear, and to make it easier to clean and maintain
Key Takeaways to Unleash Your Creativity
By embracing DIY wall murals, you can add a personal touch to any room, making it truly unique and reflective of your personality
With the right techniques and a bit of creativity, you can turn any wall into a stunning work of art that becomes the centerpiece of your home
Whether you’re looking to enhance a single room or your entire living space, DIY wall murals offer an affordable, fun, and expressive way to bring your walls to life
Unleashing Creativity
A DIY wall mural is more than just a decoration, it’s a reflection of your soul – a brushstroke of personality that turns a house into a home.
Lily Green
Bringing Your Vision to Life
As you’ve journeyed through this guide, you’ve discovered the magic of DIY wall murals and how they can transform any room into a unique and personalized space. From the initial steps of planning and preparation to the creative freedom of mural painting techniques and design ideas, you’ve been equipped with the knowledge to unleash your inner artist. Whether you’re looking to add a pop of color, create a focal point, or simply express yourself, DIY wall murals offer a world of possibilities. By following the steps outlined and embracing your creativity, you can turn your walls into vibrant canvases that reflect your personality and style.
As you embark on your DIY wall mural adventure, remember that the true beauty lies not just in the end result, but in the process of creation itself. Don’t be afraid to experiment, try new things, and make mistakes – they’re all part of the journey. With every brushstroke, you’re not just painting a wall, you’re bringing your vision to life. So, take a deep breath, let your imagination run wild, and watch as your space is transformed into a reflection of your unique spirit and creativity. The world of DIY wall murals is waiting for you – dive in, get creative, and make it your own!
Frequently Asked Questions
What kind of paint is best to use for a DIY wall mural?
For a DIY wall mural, I swear by good ol’ acrylic paint or latex-based wall paint. They’re easy to work with, dry quickly, and come in a gazillion colors. Plus, they’re usually easy to clean up, which is a total bonus when you’re getting creative!
How do I prepare my wall for a mural to ensure it lasts?
To prep your wall for a mural, start by cleaning it thoroughly with soap and water to remove dirt and grime. Fix any cracks or holes with spackling compound and sand it smooth. Then, prime the wall with a coat of gesso or acrylic primer to create a stable surface for your artwork.
Can I use stencils or stickers to create a DIY wall mural if I'm not a skilled painter?
Absolutely, you can use stencils or stickers to create a unique DIY wall mural, no painting skills required. These tools can add a professional touch or a playful vibe to your design, and they’re super easy to work with, giving you the freedom to get creative without worrying about free-handing it.