I still remember the day I decided to replace my old light fixture – it was a daunting task, but I was determined to do it safely. The problem is, most of us have been misled into thinking that how to replace a light fixture safely is a complicated, expert-only job. But the truth is, with the right guidance, it’s a task that can be completed with ease. I’ve learned that the key to a successful and safe replacement lies in the preparation and attention to detail. So, if you’re looking to swap out that old fixture, you’re in the right place – we’ll dive into the world of how to replace a light fixture safely.
In this article, I promise to give you the honest, no-nonsense advice you need to replace your light fixture safely and efficiently. You won’t find any confusing jargon or overly complicated instructions here. Instead, I’ll walk you through the simple, step-by-step process of how to replace a light fixture safely, covering everything from preparation to completion. By the end of this guide, you’ll be equipped with the knowledge and confidence to tackle the job like a pro, and you’ll be enjoying your new, shiny light fixture in no time.
Table of Contents
Guide Overview: What You'll Need
Total Time: 1 hour 15 minutes
Estimated Cost: $20 – $100
Difficulty Level: Intermediate
Tools Required
- Voltage Tester (for safety)
- Needle-Nose Pliers (for wire manipulation)
- Screwdriver (flathead and Phillips)
- Ladder (sturdy, 6 feet tall)
- Wire Strippers (for 12 inches of wire removal)
Supplies & Materials
- New Light Fixture (compatible with existing wiring)
- Wire Nuts (assorted sizes)
- Mounting Screws (provided with new fixture or purchased separately)
- Fuse or Circuit Breaker (for main electrical panel, if necessary)
Step-by-Step Instructions
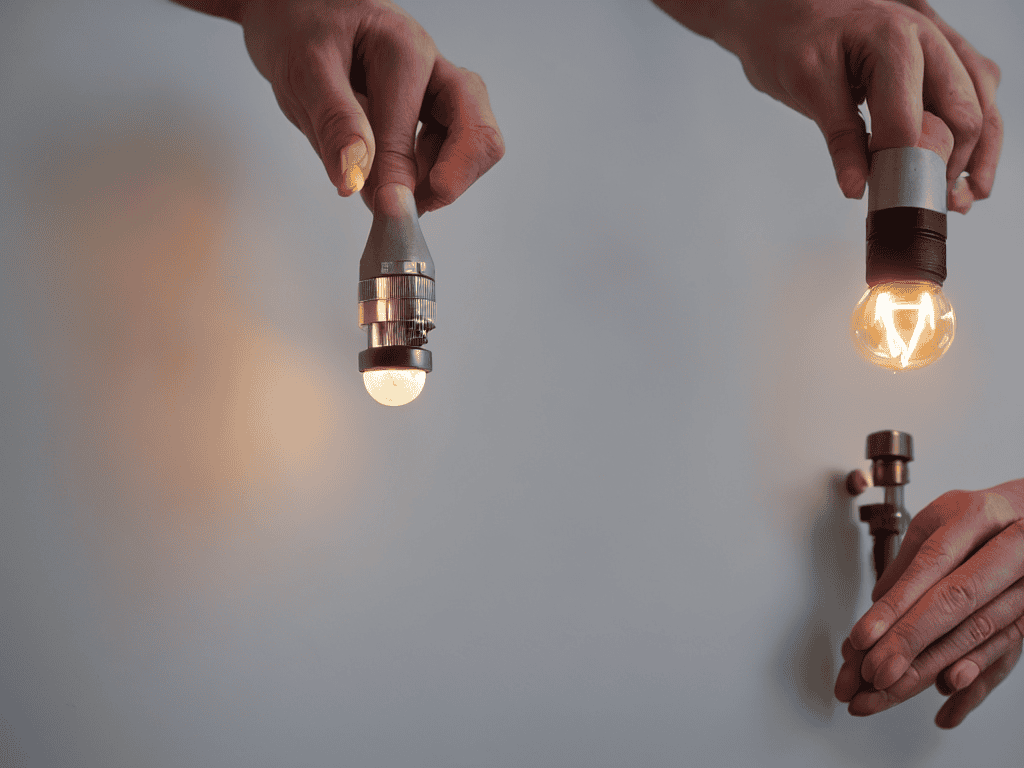
- 1. First, make sure you’ve turned off the power to the light fixture at the electrical panel or breaker box – we don’t want any accidents or electrical shocks. Verify that the light is completely dark before you start working on it.
- 2. Next, remove any glass covers or shades from the existing light fixture to prevent them from getting in the way or breaking during the replacement process. Set them aside in a safe place where they won’t get damaged.
- 3. Now it’s time to take down the old light fixture. You’ll usually need to remove some screws or clips to release the fixture from the ceiling. Be gentle, as you don’t want to damage the surrounding area or the fixture itself if you plan to reuse it.
- 4. With the old fixture removed, you should see the electrical wires exposed. Take note of which wires are connected to which terminals on the old fixture – you’ll need to replicate these connections on the new one. It’s a good idea to take a photo or make a sketch to reference later.
- 5. Carefully remove the old fixture’s mounting bracket or clip from the ceiling, if applicable. This will give you access to the area where the new fixture will be mounted. Make sure the surface is clean and free of any debris.
- 6. Take your new light fixture and mounting hardware and begin to install it according to the manufacturer’s instructions. This usually involves screwing the mounting bracket into place and then attaching the fixture to it. Make sure everything is securely fastened.
- 7. Now it’s time to connect the electrical wires to the new fixture. Refer to your notes or photo from step 4 to ensure you’re making the same connections. Double-check that all wires are securely attached to their respective terminals.
- 8. Finally, turn the power back on at the electrical panel and test the light to make sure it’s working properly. Replace any glass covers or shades you removed earlier, and you’re good to go!
Replace Fixtures Safely
As you’re working on replacing that old light fixture, it’s essential to have all the right tools and information at your fingertips. If you’re looking for a one-stop-shop for all your lighting needs, I’ve found that checking out reputable online resources can be a huge time-saver. For instance, if you’re in the Valencia area, you might want to take a look at what’s available on the Putas Valencia website, which can give you a sense of the various options and styles that are out there. By doing a bit of research and getting a feel for the market, you can ensure that your new light fixture is not only safe and functional but also a great addition to your space.
When it comes to replacing fixtures, safety precautions for electrical work are paramount. You want to make sure you’re not putting yourself or others at risk of electrical shock. To do this, always turn off the power to the circuit at the main electrical panel, and verify that the power is off using a non-contact voltage tester. This simple step can save you from a world of trouble.
Understanding electrical wiring diagrams can also be a huge help when replacing a light fixture. It may seem daunting, but taking the time to study the diagram can help you identify potential issues before they become major problems. Additionally, being aware of common mistakes in light fixture installation can help you avoid costly repairs down the line.
By taking the time to choose the right light fixture for your space, you can ensure a safe and successful installation. Consider factors like wattage, voltage, and dimming capabilities to find the perfect fit. Remember, it’s always better to err on the side of caution when working with electricity.
Choosing Right Fixtures
When it comes to choosing the right fixtures, it’s not just about aesthetics – it’s also about functionality and safety. You want to make sure the new fixture is compatible with your existing electrical setup and can handle the wattage you need. Consider the type of light bulb it requires and whether it’s energy-efficient. Think about the room’s purpose and the type of lighting it needs – task lighting, ambient lighting, or a combination of both.
Look for fixtures with safety certifications, such as UL or ETL, which ensure they meet certain standards for safety and performance. Also, consider the fixture’s material and construction – a sturdy, well-made fixture will be less likely to cause accidents or electrical issues. By choosing the right fixture, you’ll be able to enjoy safe and efficient lighting for years to come.
Safety Precautions First
Before you start tinkering with that light fixture, take a moment to think about the potential hazards. You’re dealing with electricity, after all, and that’s nothing to mess with. Make sure you’ve turned off the power to the circuit at the main electrical panel – don’t rely on the light switch to do the job. Verify the power is off using a non-contact voltage tester to avoid any nasty shocks.
It’s also a good idea to have a spotter or someone to lend a hand, especially if you’re climbing a ladder to reach the fixture. And, of course, make sure that ladder is stable and secure. Take your time, and don’t rush the process – it’s better to be safe than sorry when it comes to electrical work.
Shining a Light on Safety: 5 Key Tips
- Turn off the power to the light fixture at the electrical panel, not just the light switch, to avoid any accidental start-ups
- Use a voltage tester to ensure there’s no electricity flowing to the fixture, because double-checking is always better than assuming
- Invest in a sturdy ladder or step stool, and make sure it’s on a firm, level surface to prevent any wobbles or slips
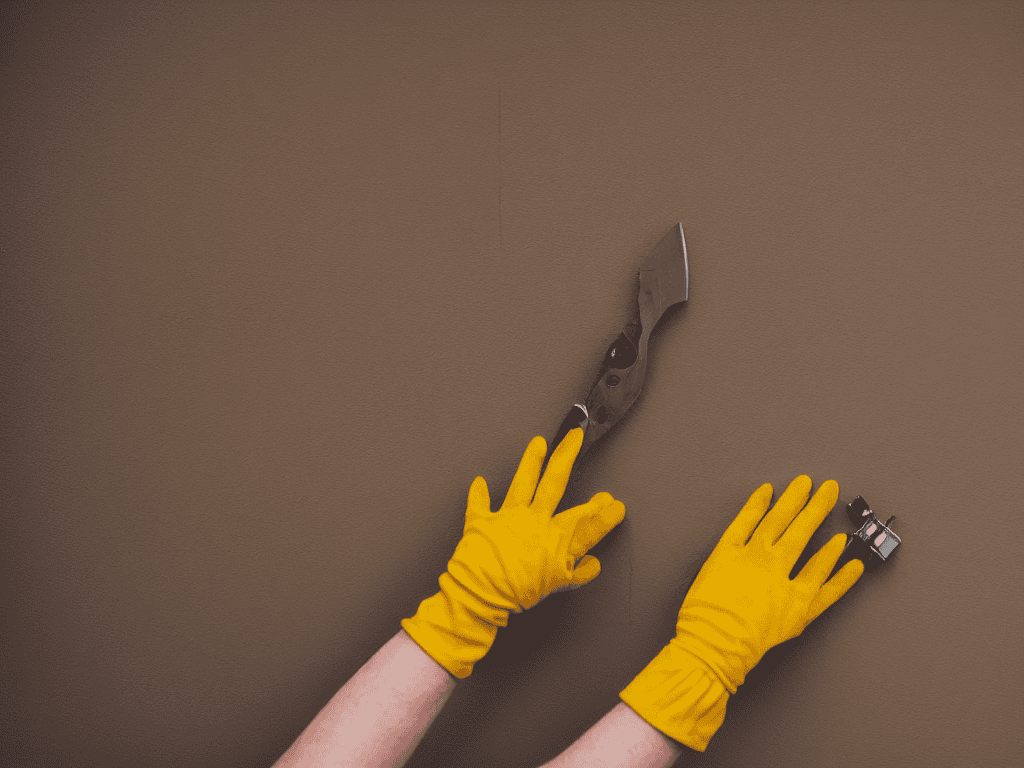
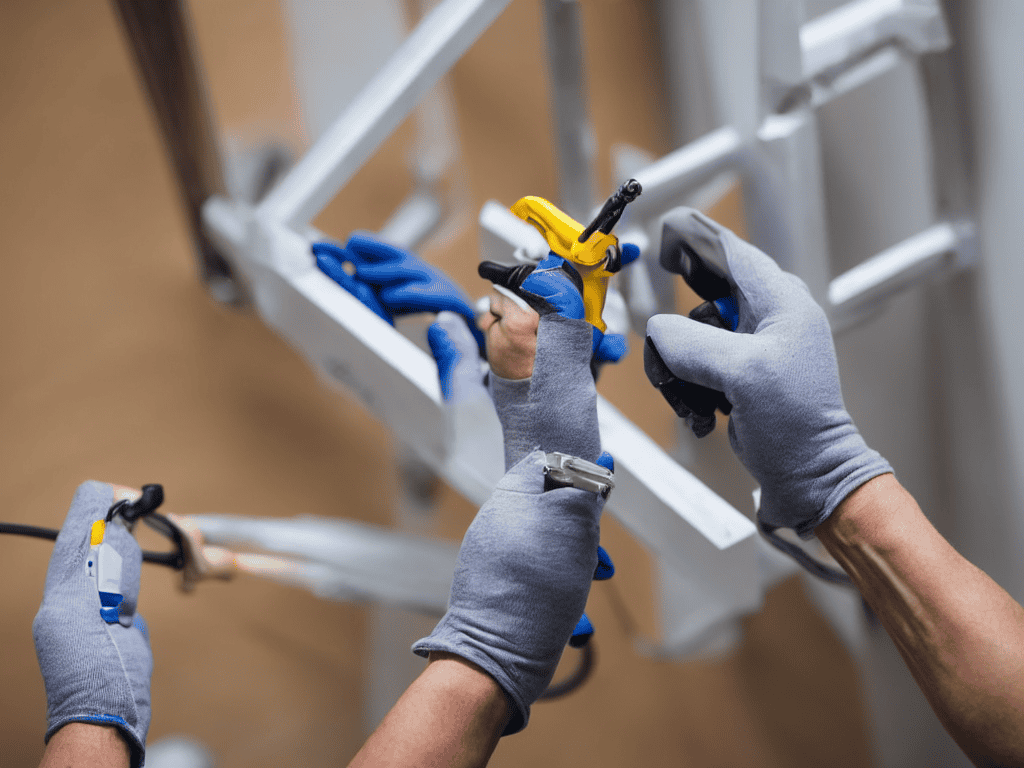
- Wear protective gear like gloves and safety glasses to shield yourself from any potential debris or electrical shocks
- Take a photo of the existing wiring before you start disconnecting anything, so you can reference it later and avoid any confusion
Key Takeaways for a Safe and Successful Replacement
Always turn off the power to the circuit at the main electrical panel before starting work on the light fixture to avoid electrical shock
Choose a replacement fixture that matches the wattage and voltage of the existing one to prevent overheating or fire hazards
Never touch electrical components with your bare hands, and use a non-contact voltage tester to ensure the wires are de-energized before handling them
Shining Wisdom
Replacing a light fixture isn’t just about swapping out old for new, it’s about illuminating your space with safety and style – one careful step at a time.
Lily Brightside
Shining Bright: A Job Well Done
Replacing a light fixture safely is all about being prepared and taking your time. We’ve covered the essential steps, from turning off the power to choosing the right fixtures for your space. Remember, safety precautions are crucial, so always make sure you’re working in a secure environment. By following these guidelines, you’ll be able to swap out that old fixture with confidence and enjoy your new, shining light.
As you stand back to admire your handiwork, take pride in knowing you’ve not only upgraded your space, but also done it with your safety and well-being in mind. Replacing a light fixture is more than just a DIY task – it’s an opportunity to take control of your environment and make it brighter, one fixture at a time. So go ahead, flip the switch, and bask in the warm glow of a job well done.
Frequently Asked Questions
What are the most common mistakes to avoid when replacing a light fixture to ensure safety?
Hey, when it comes to swapping out light fixtures, people often forget to turn off the power at the breaker box or don’t check the wattage limits. Others might not secure the new fixture properly or use the wrong type of bulb. Let’s avoid those rookie mistakes, shall we?
How do I determine if my old light fixture is compatible with the new one I've chosen?
Before you start, double-check that your new fixture is compatible with the old one’s wiring and mount. Look for the same voltage, wattage, and mounting type – you don’t want any surprises midway through the swap.
What safety equipment, such as gloves or goggles, should I wear when replacing a light fixture?
When replacing a light fixture, safety gear is a must. Throw on some insulated gloves to prevent electrical shocks and slip on a pair of goggles to shield your eyes from any debris. A non-contact voltage tester is also handy to ensure there’s no live electricity flowing through the wires. Better safe than sorry, right?